As a foreword, please try to bare with my terrible formatting; for I’m not good at essays.
.
.
.
CHAPTER 1: MULLET ON WHEELS
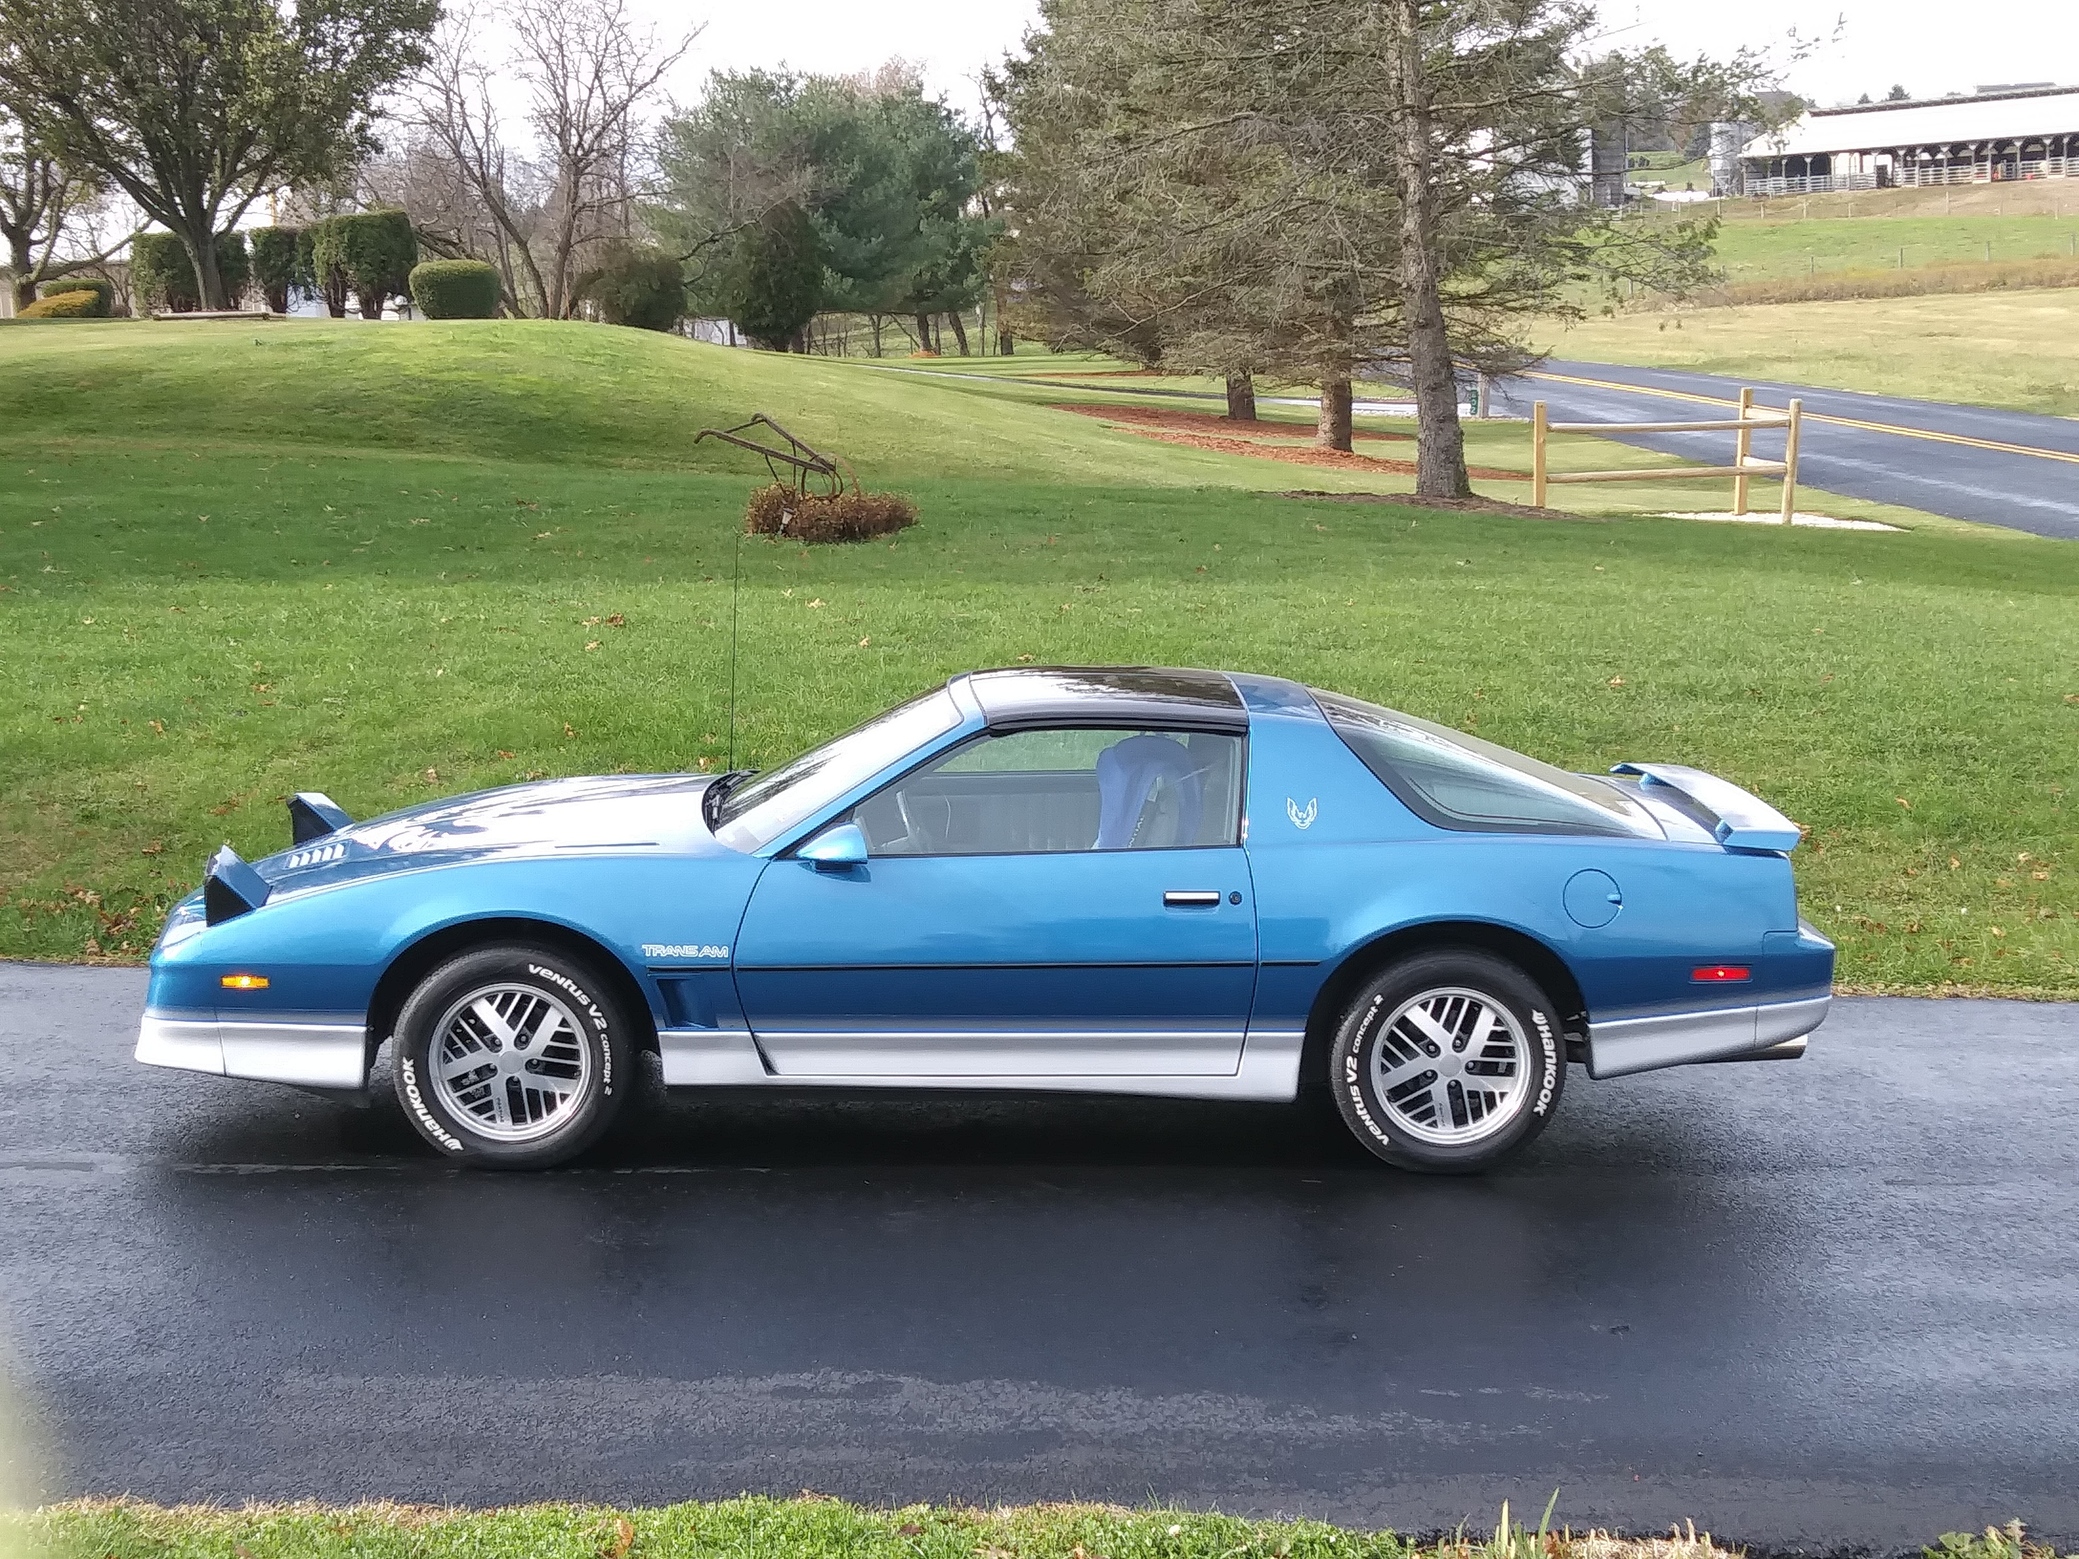
This is my '85 Trans Am, it has a 5.0 chevy small block V8 with bad rings breathing through the dreaded electronic quadrajet 4bbl carburetor. The engine is mated to a 700r4 4-speed auto which in turn is mated to an 'Strayan 9-bolt 3.08 LSD rear end.
At the end of, it probably only has 120 rwhp which gets it to 60 in 9 seconds. ![]()

Painted tire lettering, just like a true ricer
I’m the third owner and the second owner to drive it more than 500 miles. It is numbers matching for now and was completely stock when I bought it. So far I’ve done pretty much just maintainance and restoration stuff, other than installing a magnaflow catback and adding keyless entry. I’m planning on dropping a 350 in this fall as well as headers, although the E4ME carb is staying because I like it and it was also used on factory 350 cars.

If you look carefully, you can see the engine block from the under the hood.
As stated previously, the engine is a 305cui, 5.0L small block v8 with hydraulic flat tappets.
From the factory it made 165hp@4200 and 240lb/ft@2400. It’s mainly choked by the exhaust manifolds and small exhaust diameter, hence the catback currently and headers in the future.
In the present, however, it makes more like 140hp due to bad rings and carbon buildup. Thankfully it doesn’t burn much oil, or at least not enough to make the exhaust blue. It also has a spark-knock problem while under heavy load, but I’ve ruled out everything I can think of other than carbon buildup so I just whacked the idle mixture up and and retarded the timing to limit damage for now.
Mileage falls somewhere between abysmal and ignorance is bliss.
.

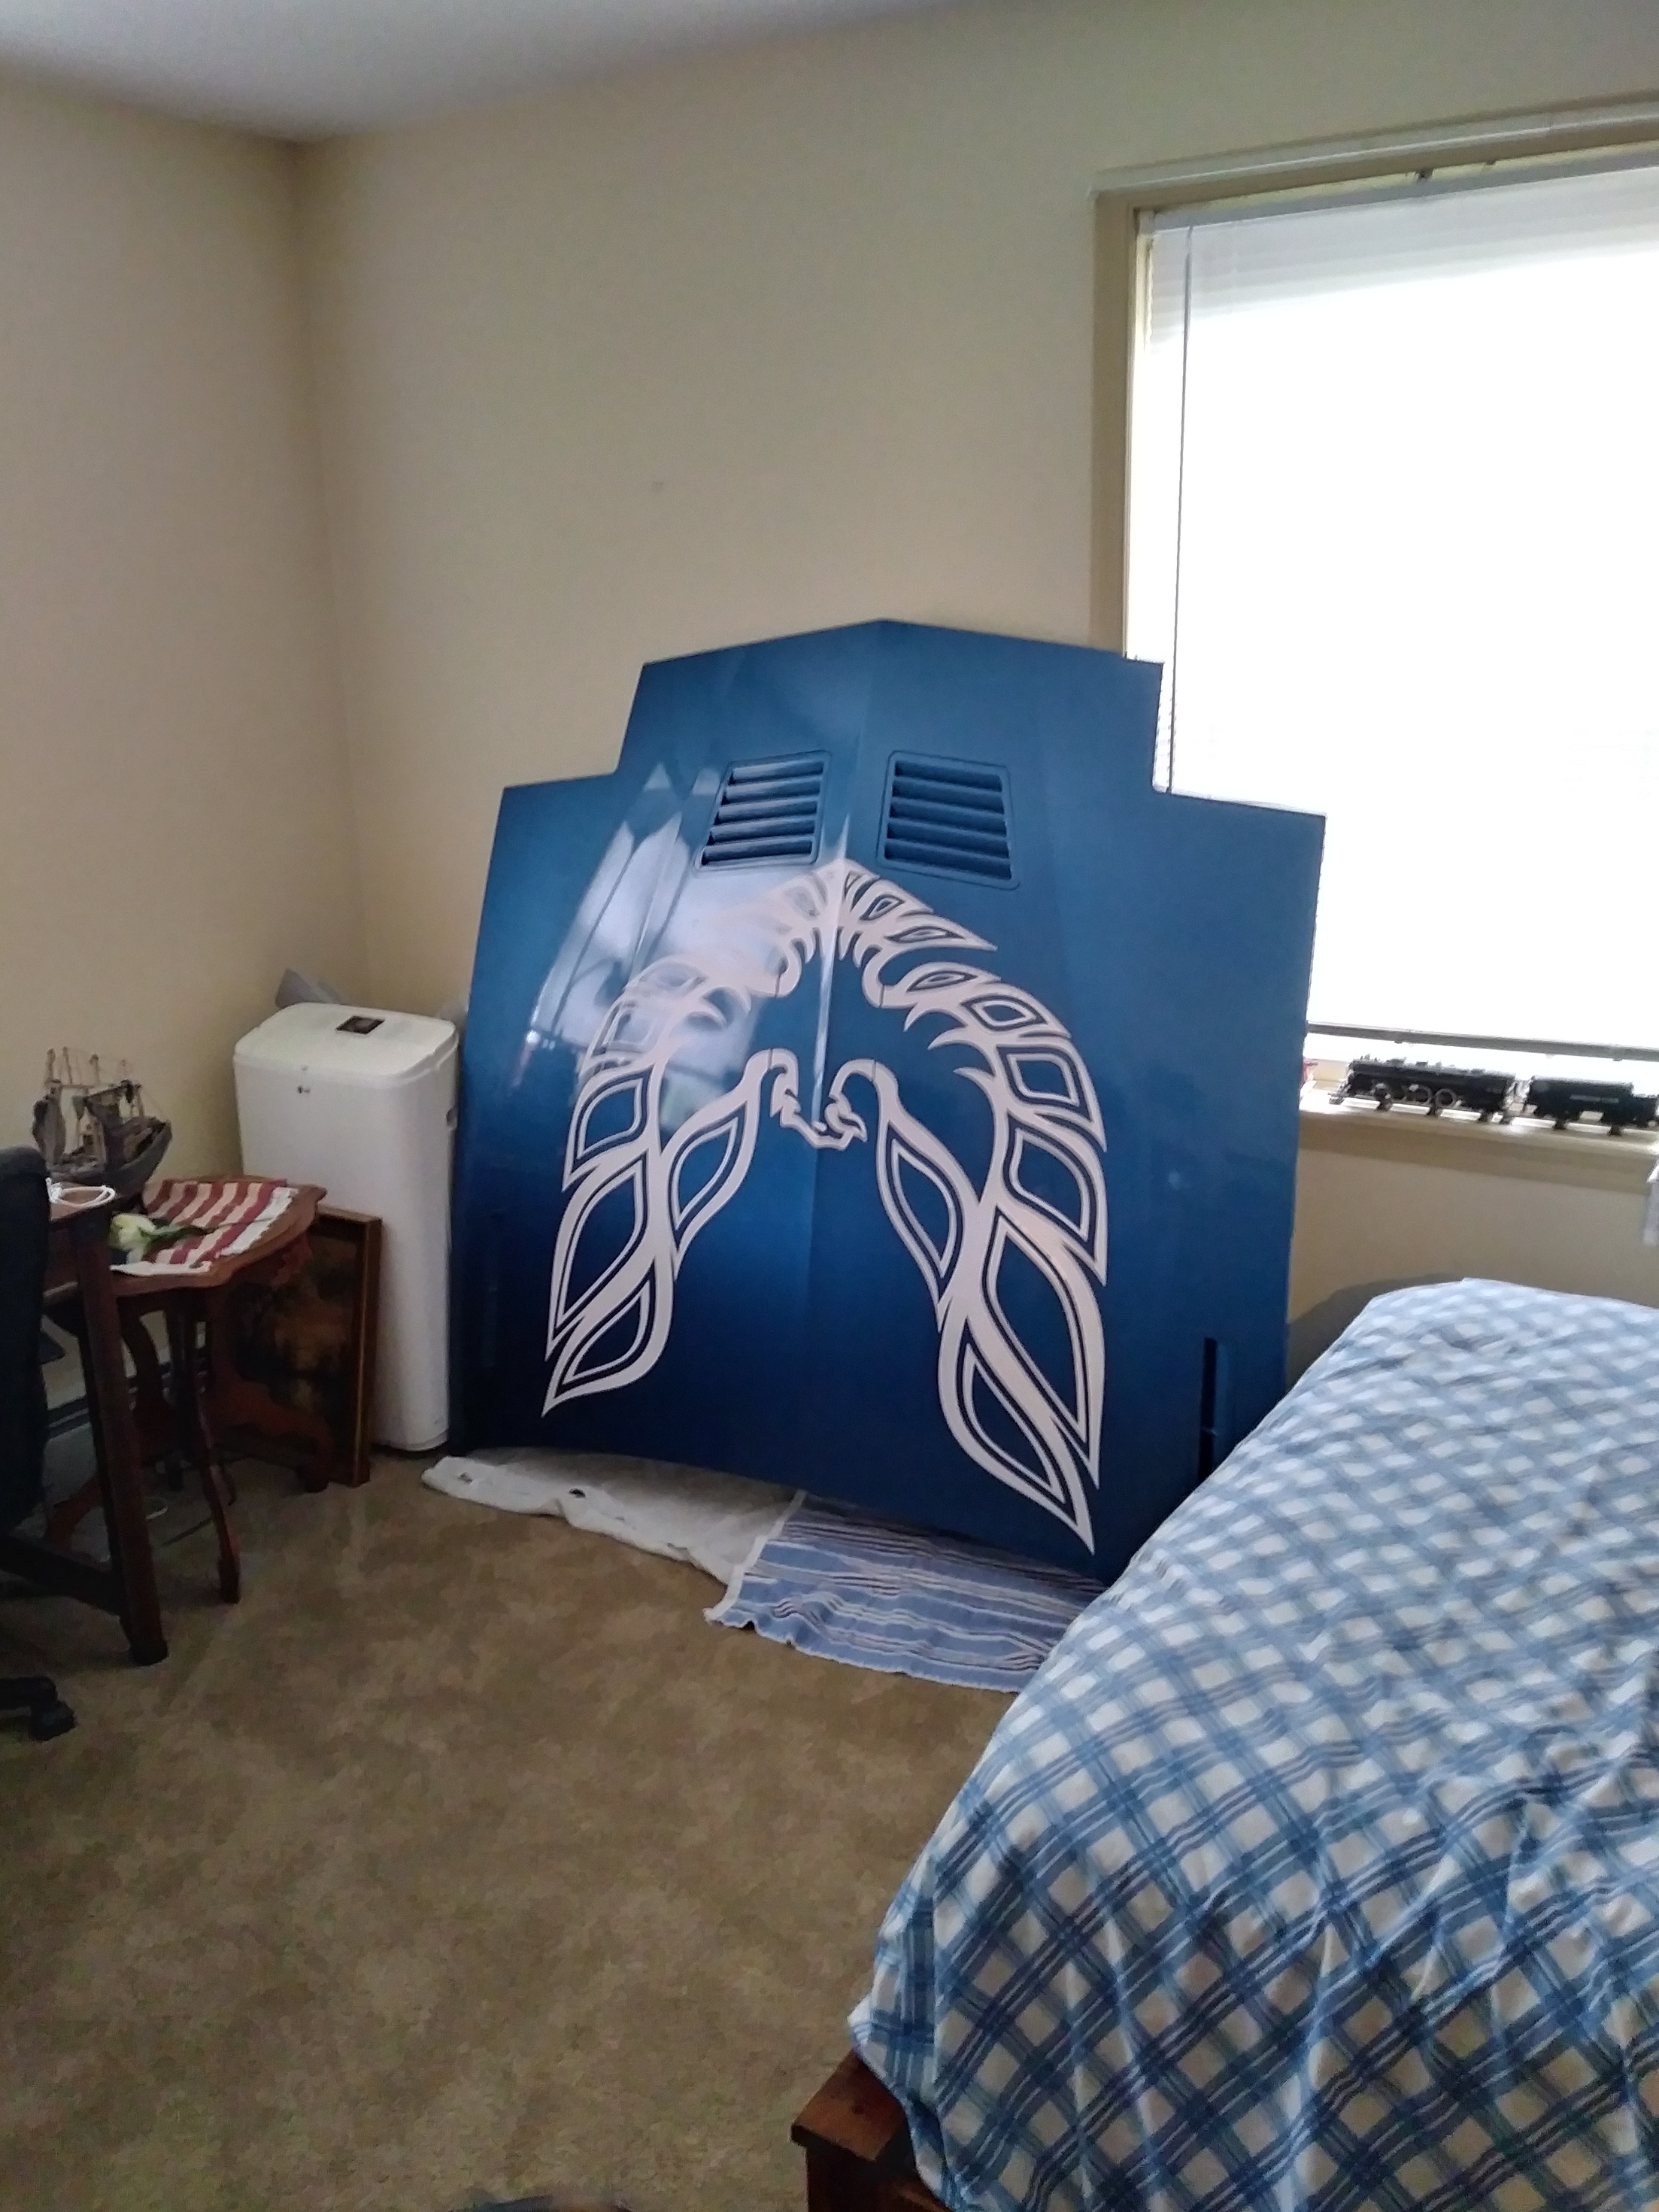
Radtastic 80’s interior, devoid of useful storage
The car is surprisingly good at handling, considering the 4-link live axle rear end and 3300lb weight. It remains firmly planted on on-ramps. I haven’t successfully measured lateral G’s but these cars pulled 0.83 with the stock 1985 245/50r16 goodyear gatorbacks. Steering is fast and sharp as far as 80’s power steering goes and the brakes are boosted but still somewhat heavy. Can’t say much for shifting or clutch since I’m an automatic pleb. The throttle response is so-so but gets better when warm. All around it is a fun car to drive, although the spark knock is a real killjoy once the cylinders heat up from too much enthusiasm.
.

3rd gen F-bodies don’t have glove boxes because the HVAC box is in the way, so you get this neat little pouch
.
.
.
CHAPTER 2: THE SWAPPENING

Ready for surgery; but where did the hood go?
The time had come, it was finally October 20th 2019. To most people it was an ordinary day, but to one Automation pleb, it was swappin’ time. By this time I had amassed all of the parts that I needed. This included a new, bigger Y-pipe and cat from magnaflow as well as some better exhaust manifolds from an 88 F-body. I decided against buying headers since a good set is mondo-expensive and they are prone to rusting. After all, I’m not trying to make 500hp. My goal was just to have a smooth, reliable engine.
Armed with only my wits, a Haynes manual and google, I embarked on a one way trip to powertown.
Oh, there it is
First step was to remove all the useless junk attached to the fuel to sound converter, so that all needed to GTFO:
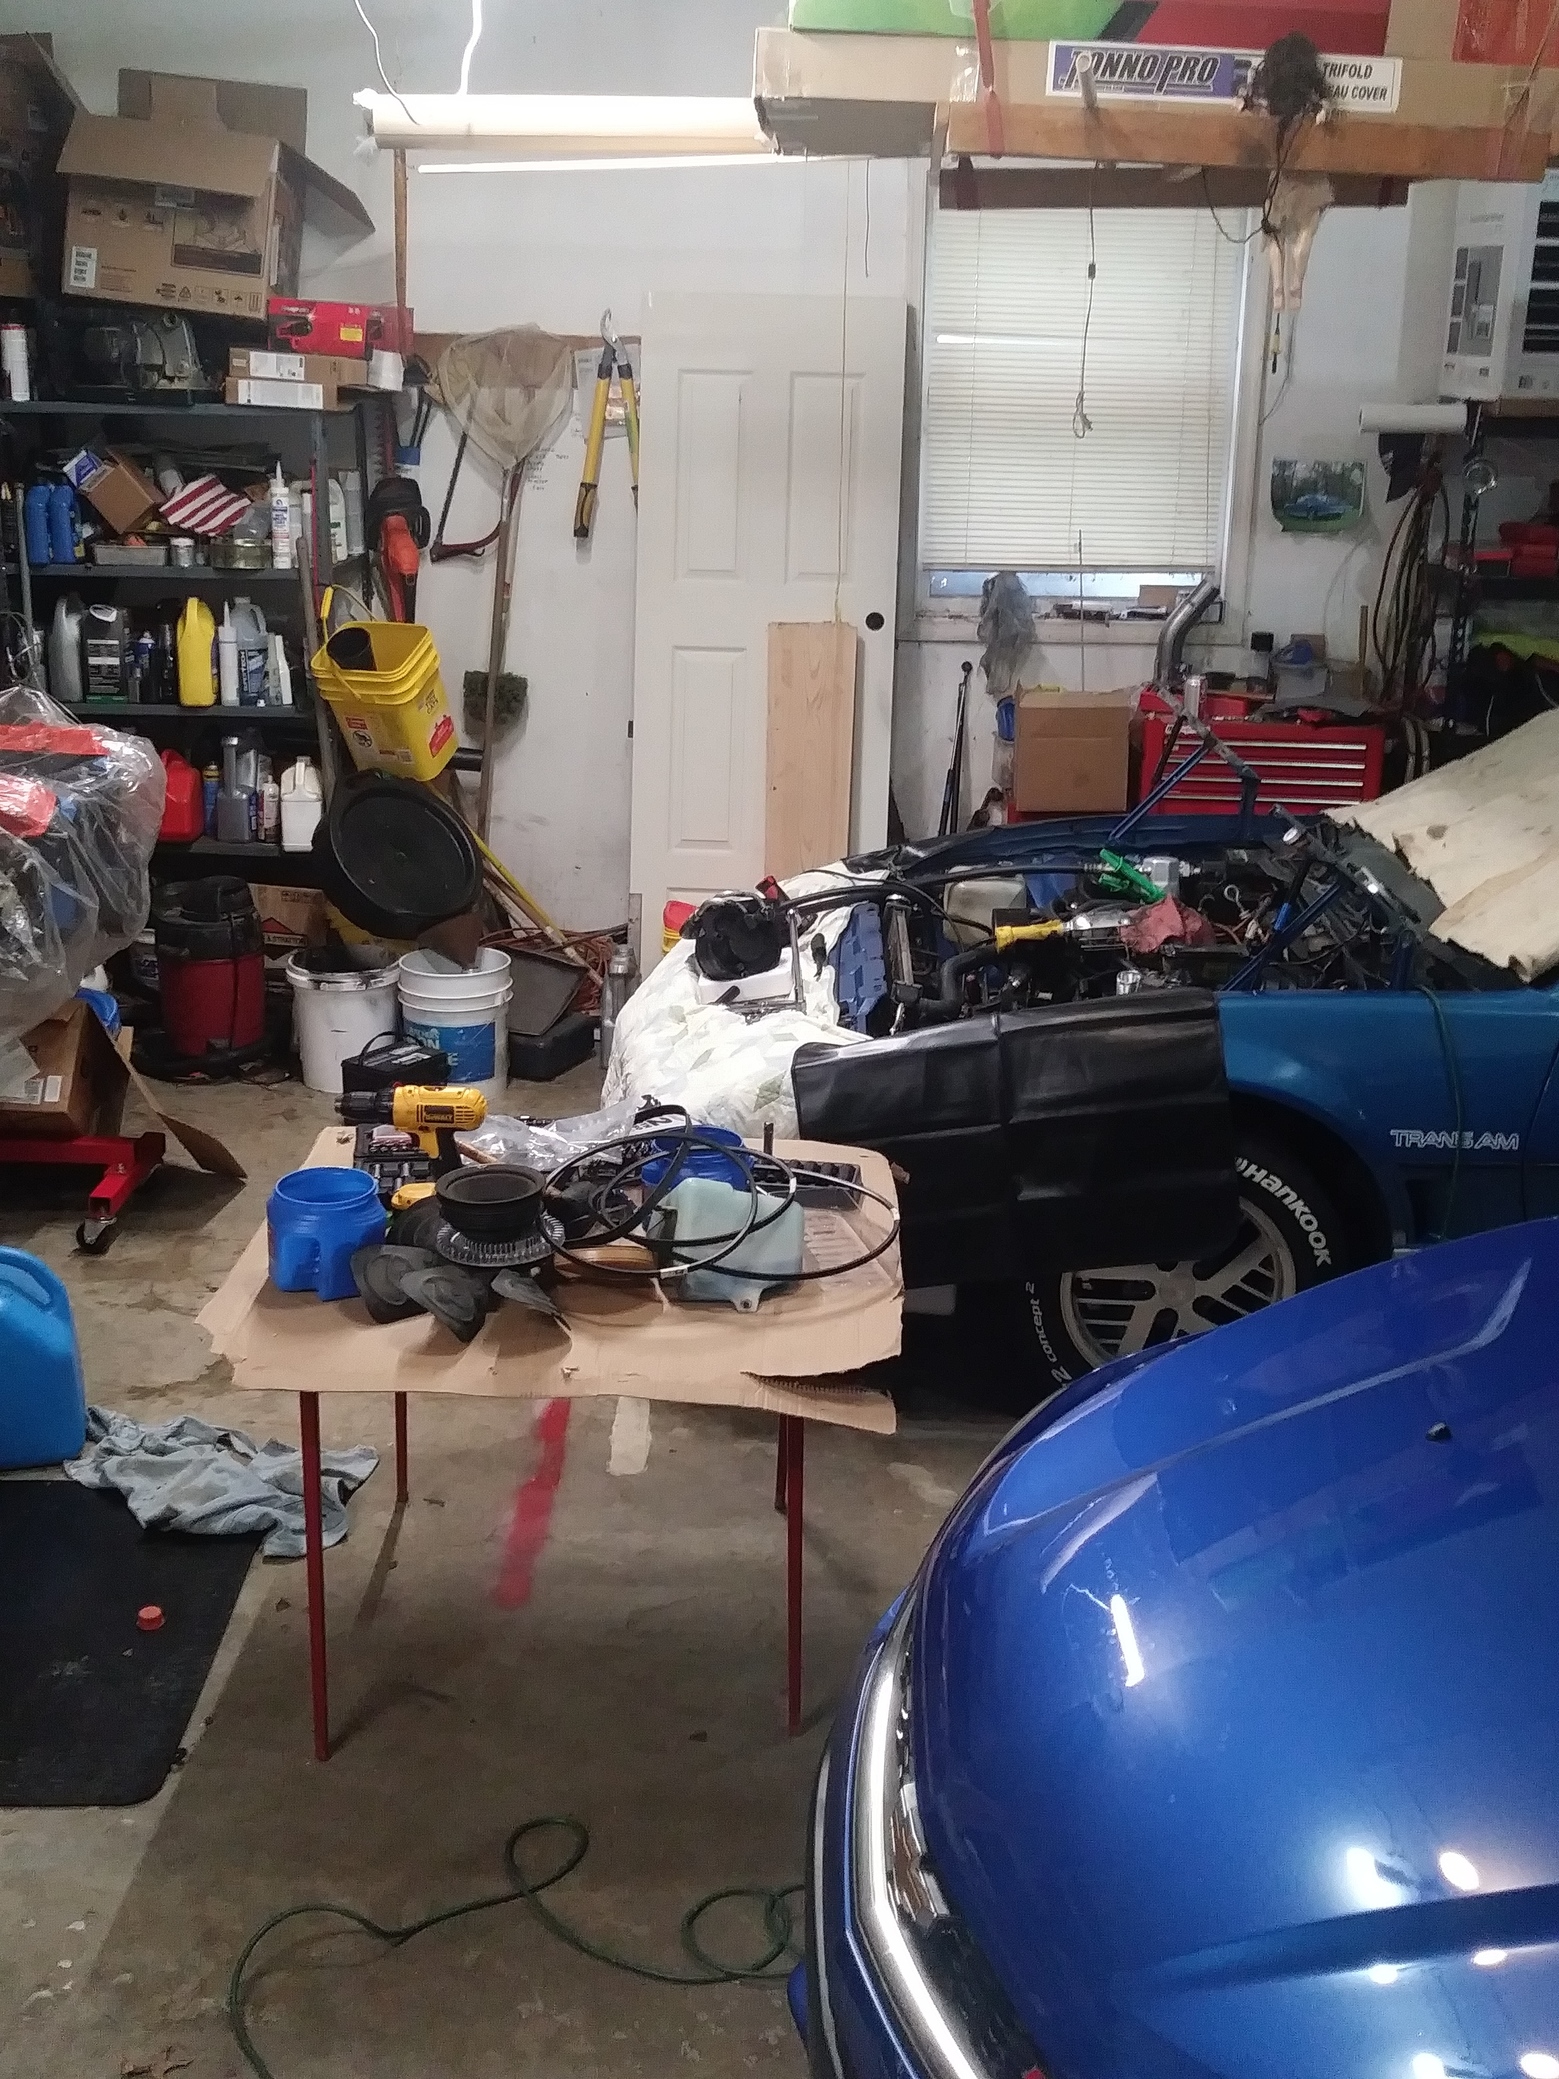
Of course, this was only the beginning
After draining the fluids, removing the battery and disconnecting quite a healthy number of connectors, I was ready to start removing the accessories. All except the power steering pump, which I unbolted and zip-tied off to the side so I wouldn’t have to disconnect the lines from it and get PS fluid everywhere. I know that you can pull the engine with the accessories, but removing them made pulling the engine trivial. It also made it possible to stand in the engine bay and lean over the top of the engine, which made it much easier to get to various things on the back of the engine and more importantly get to the upper 2 bellhousing bolts. I have no idea how I would have gotten them otherwise.

Much roomier in here now
Now that I removed all the stuff from the front of the engine, it was time to get everything off the top. First to go were the carburetor and the distributor, among other things. Then the EGR valve and rocker covers were removed in preparation for removal of the intake manifold.


As I finally got my first look at the inside of the engine, I noticed that the coolant passages looked rather muddy, so perhaps the head gaskets were on their way out. There was also quite a bit of carbon buildup in the ports and on the valves.
After everything up top was removed, I unbolted the torque converter from the flexplate and removed the tiny, restrictive Y-pipe from the tiny, restrictive exhaust manifolds with absolutely no trouble. No, seriously the nuts just zipped right off the studs.
After hooking up the engine to a hoist, I removed the bellhousing bolts and the engine mount through-bolts, and the old, tired 305 was raised out of the car.
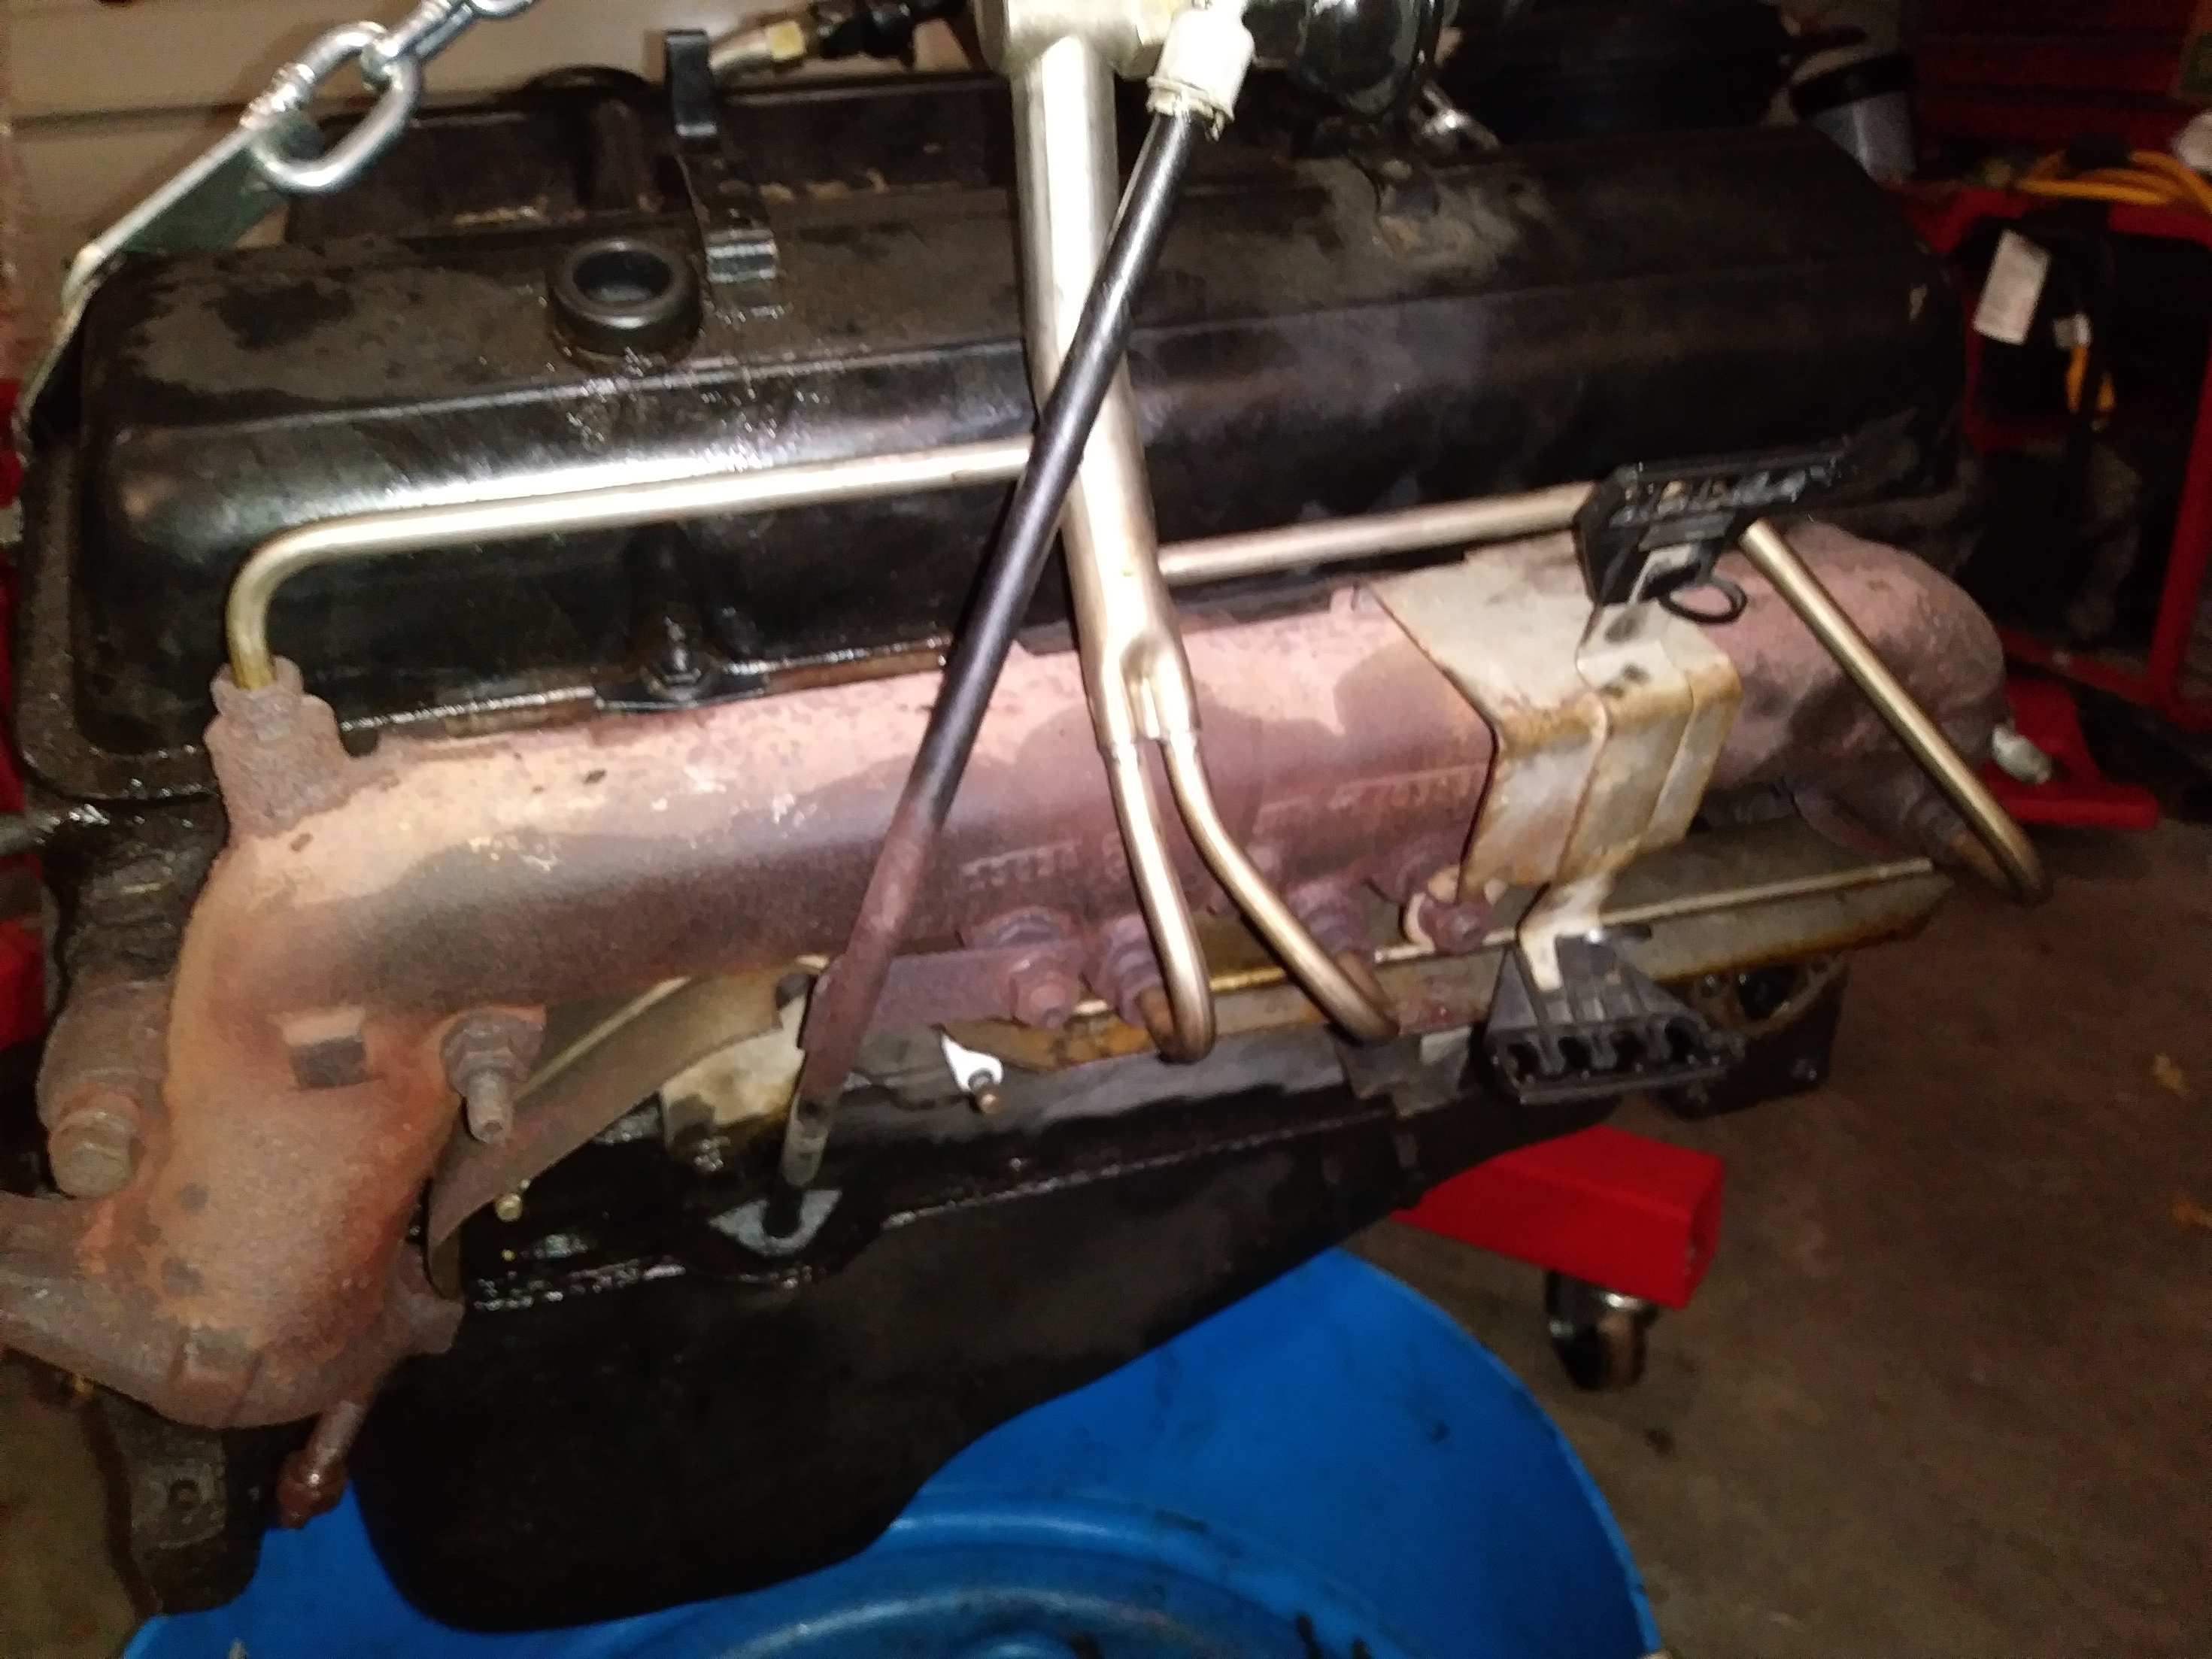
It was a bittersweet moment. On one hand the car was getting a brand new engine, but on the other hand, the venerable 305 which the car rolled off the line with 30-odd years and 70,000 miles ago was now separated from the car for good.
After cleaning up the manifold and painting a bunch of stuff, I put in the new engine. This was pretty uneventful so I won’t go into detail.


I had a to do a couple of angle grinder modifications to some brackets but otherwise everything bolted right up.

I had to cut a piece out of this PS bracket to clear a freeze plug. Don’t worry, I cleaned it up and painted it.

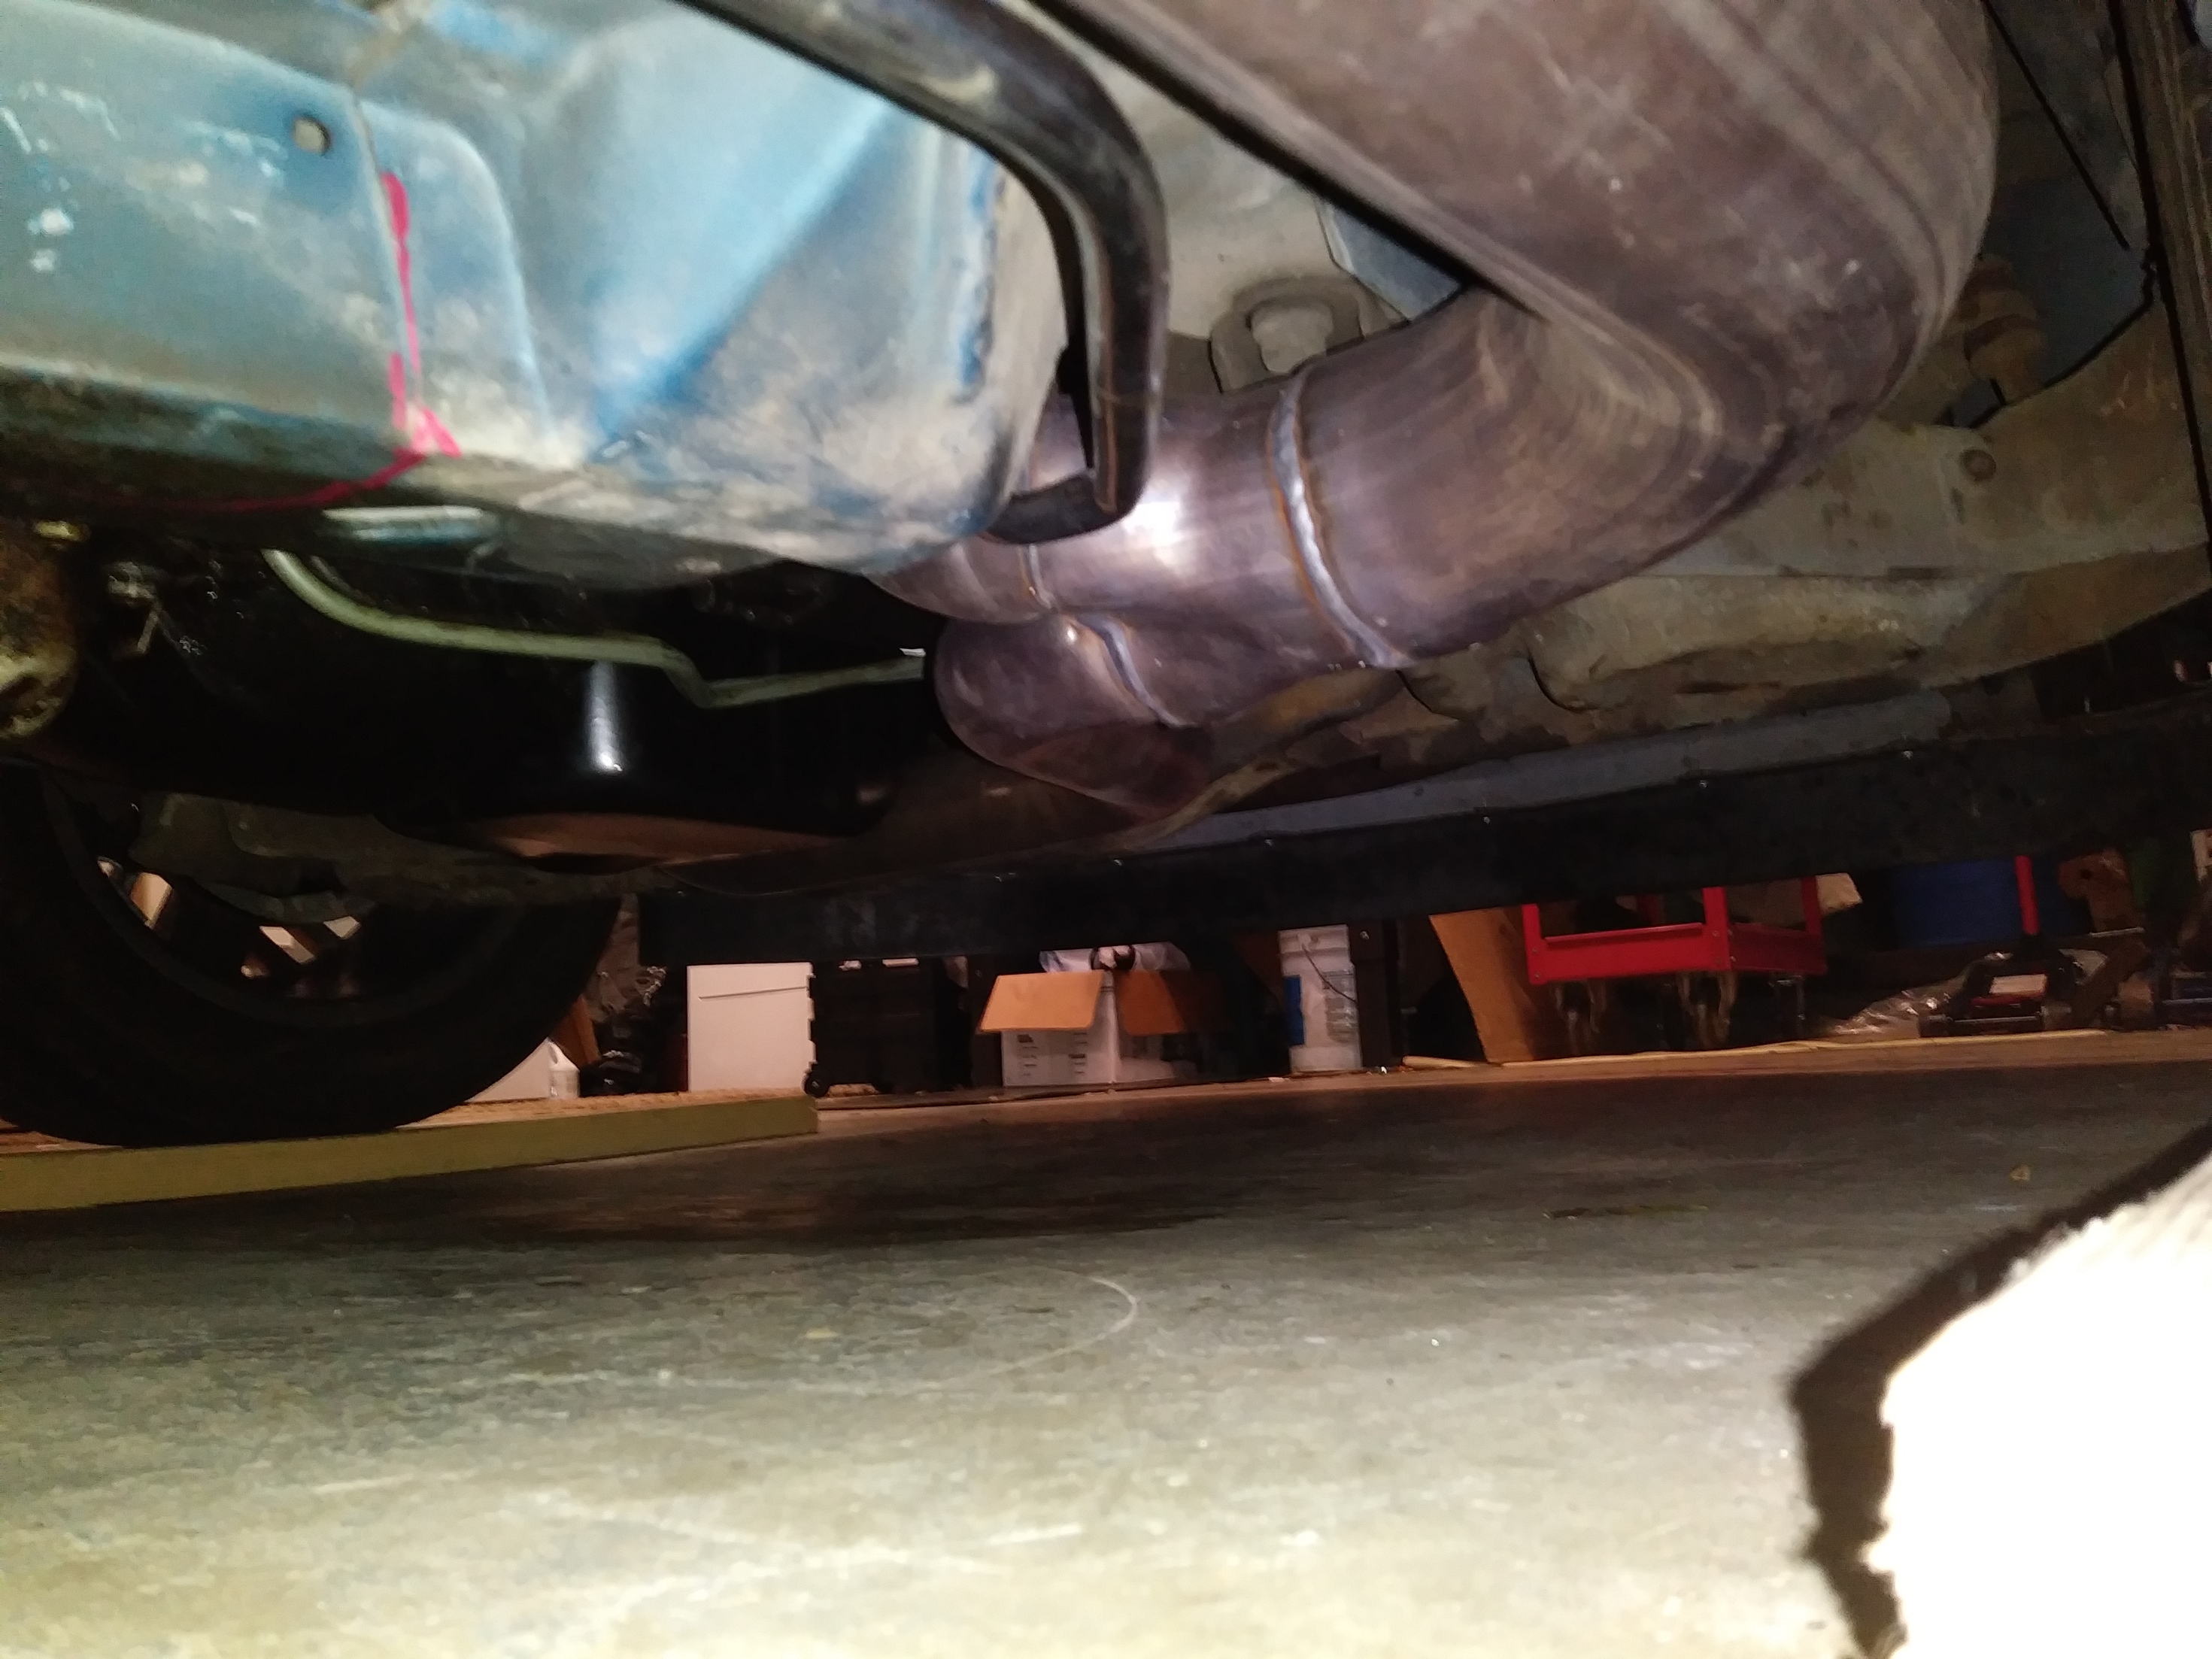
The new stainless steel Y-pipe and Catalytic converter were installed and bolted up with zero clearance issues.
The engine was almost complete, but everything changed when the water nation attacked. Coolant started leaking from the back of the water pump, forcing me to drain the coolant, take all the belts off and get some accessories out of the way in order to get the pump off. After removing the pump and replacing the seal, it was reinstalled. The next day I put some coolant in and pressure tested the cooling system. Success, no leaks!
After the belts and accessories were reinstalled, the oil pump was primed, the battery was connected. The time had come to bring this hunk of iron to life. Some gas was poured down the throat of the carb and the engine was cranked. It instantly started and idled effortlessly. After breaking in the engine at 2500rpm for 30 minutes, the oil was changed and I could finally say I was done.
.
.
.
CHAPTER 3: POWERTOWN


I couldn’t wait to finally drive my car again. it had nearly been a month since I undid the first bolt, but now the day had come. The morning wasn’t ideal since I don’t usually drive the car when it’s wet out, but I couldn’t wait. I hopped into to driver’s seat, pumped the gas and turned the key.
The car roared into life just like it had the day prior, eager to stretch it’s legs after such a long rest. As I started down the road I couldn’t contain my grin, it sounded amazing with the new Y-pipe and manifolds. The exhaust even crackles like an F-type. (okay, maybe not that much.) It wasn’t overwhelmingly loud as I had feared, but the volume was at what I felt it should be.
The car finally ran smoothly and healthily, finally I could drive the car normally without fear of knocking. I could use overdrive without lugging. It could go up hills now!
I don’t know how much faster it is though, since WOT is a no-no until the break-in period is up. Hopefully at least 8 seconds to 60 now?

Update:
Part of modifying a car is accepting that mistakes can and are made. I learned this lesson quickly on Nov 23, 8 days after first starting the new engine, when I was left (death) stranded in a parking lot.

After getting a surprisingly expedient tow, courtesy of AAA, I did some troubleshooting and found that a fusible link had been broken. It was not burnt, but physically broken. I have concluded that, during installation of the new engine, the 30 year old link was pulled too tightly and engine vibration wore it down.
