Car photography tips for your Automation shots! (GUIDE)


We have decided to gather all the experience and knowledge we know (and will acquire) in photographic and image matters, and turn it into a guide for you guys to really make your Automation shots stand out. We’ll gradually update it with new things and tips for you to consider when shooting pics in Automation!

Special thanks to @Chickenbiscuit for his collaboration in the shape of topics to expand this guide!


ALL TOPICS:

TOPIC 1 - ADJUSTING THE CAMERA

TOPIC 2 - EXPLORING THE PHOTO SCENES

31 Likes

Masterpiece!

1 Like

In the context we are speaking about (i.e. car photography) I agree with these sentiments. However, as somewhat of a photography snob, I would take issue with these assertions outside this context :smile:. There is quite a lot interesting about this composition in a broader artistic context:

  • Notice how the shape of the water is the same shape as the stairs. It creates a block version of the Yin and Yang.
  • It is a good juxtaposition of something man-made and something natural in both a textural sense and in a philosophical sense.
    • Speaking of which there are some interesting textures going on here.
  • The shadow suggests the presence of something else outside the field of view. Makes you wonder what it is :thinking:
  • There are very distinct regions of color

As the impressionist movement said, pure representation of the real world isn’t everything. Pictures need not be of a particular thing. They can instead capture more general artistic concepts like, texture, color, shape, and line.

Well anyways, there is your daily dose of someone taking things far too literally. Great post for people looking to improve their car photography skills and not art critique and historical literacy skills :stuck_out_tongue_closed_eyes: .

3 Likes

Hey, all feedback is welcome! It’s refreshing to see someone who feels differently about a shot than I did personally when I fed it to Lightroom (thinking it wasn’t good and it was decomposed) and finding out that it very well might not be :sweat_smile:

I am particularly intrigued by your take on the shot and your mention of impressionism, I think I’m gonna have to take a look at some authors there…

Thank you for your feedback and awakening my interest in a new movement! :smiley:

1 Like

TOPIC #1: ADJUSTING THE CAMERA

(Thank you @Rk38 for that lovely lovely cars!)

Want to have your whole shot in focus? Want to have lots of bokeh instead? Want your shot to look really fast or solid and stationary? You came to the right place. Let’s get started!


FOCAL LENGTH

Focal length is the amount of zoom your lens is providing. To put it simply: a higher focal length means more zoom, and a lower focal length means less zoom. Does it mean high focal lengths are the way to go always? No, not at all, there’s a reason wide angle lenses exist. Let’s take a look at them with an Automation example!

Focal length: 8-35 (mm), is what we call a wide angle. See how the distances and field of view are magnified greatly. Great for when we want to make our cars look faster and/or more dynamic. Don’t overdo it though, or you’ll make your shots look horribly distorted.

Focal length: 40-50 (mm), what we can a normal focal length (for a 35mm negative or full frame sensor, which is what Automation uses). The distances and field of view are more or less the same of those of the human eye, which gives the image a natural look.

Focal length: >50 mm, is what we call a telescopic focal length. Objects are flattened and distances are reduced greatly. Can be good for shooting cars in the distance and/or making them look more stationary. Don’t overdo it, though, or your shots will look flat and boring.

As I said, there’s no correct focal length for every situation. Here is an example of where each focal length (wide angle, normal, telescopic) is the best way to go.

WIDE ANGLE:

NORMAL:

TELESCOPIC:


APERTURE

This is measured in F stops. Usually this is a key factor when exposing a picture in real life, specially when using flash, but it doesn’t seem to matter in Automation, so it just controls depth of field. Depth of field is the distance between the closest and the furthest object still in focus in a picture. The more depth of field, the more objects will be in focus.

How do we control depth of field to get some lovely bokeh or having everything focused? It’s simple. Wide apertures (low aperture numbers) will give us less depth of field than narrow apertures (high aperture numbers).

Here’s an example, with both pictures focused at exactly the same distance.

APERTURE 1.8

APERTURE 11.0


TILT.

This one is self explanatory. How tilted the camera is when taking a shot. A tilted camera can give the sensation of speed, unstability and dynamism, but don’t overdo it or it’ll look annoying to the watcher.


EXPOSURE.

The amount of light the camera receives. This would be done through the triangle of exposure in real life, but in Automation you get a convenient slider instead. The more exposure, the brighter your picture will be (if you overdo it, you’ll get a burnt/overblown image), and the less exposure, the darker your picture will be (if you overdo it, you’ll get an underexposed/blacked out image).

EXPOSURE: 0

EXPOSURE: 1

EXPOSURE: -1

Playing around with exposure to achieve different results is best. You can do low key shots (dark), high key shots (bright) or a “correct” exposure, you could also use exposure to simulate night while in daylight or many other things.

Don’t think that shoving your exposure right at 0 is the way to go, play with it and see how it affects the image.


FILTERS

In real life, these are pieces of glass you put in front of your lens. In Automation, it’s a set of convenient options that change your image according to an effect that you can also regulate with the filter strenght slider. Don’t overdo the filters or your image will look too funky; subtle filter usage is usually best.


LENS DIRT

How dirty your “lens” is. The dirtier it is, the more strange particles will appear all over your image. It’s up to you whether you like the “dirty old lens” look or not.

20 Likes

TOPIC #2: EXPLORING THE PHOTO SCENES

Thank you @Dorifto_Dorito, @Mr.Computah , @ramthecowy, and @CorsicaUnknown for lending awesome cars for this.

The photo scenes in Automation vary wildly from each other, and they have qualities that make most of them unique to take pictures in. Here’s some cool things you might not know about Automation’s scenes (and some other tips along the way).

Note: These scenes are constantly changing with updates, so some information here may becaome out of date


NAVIGATING PHOTO SCENES

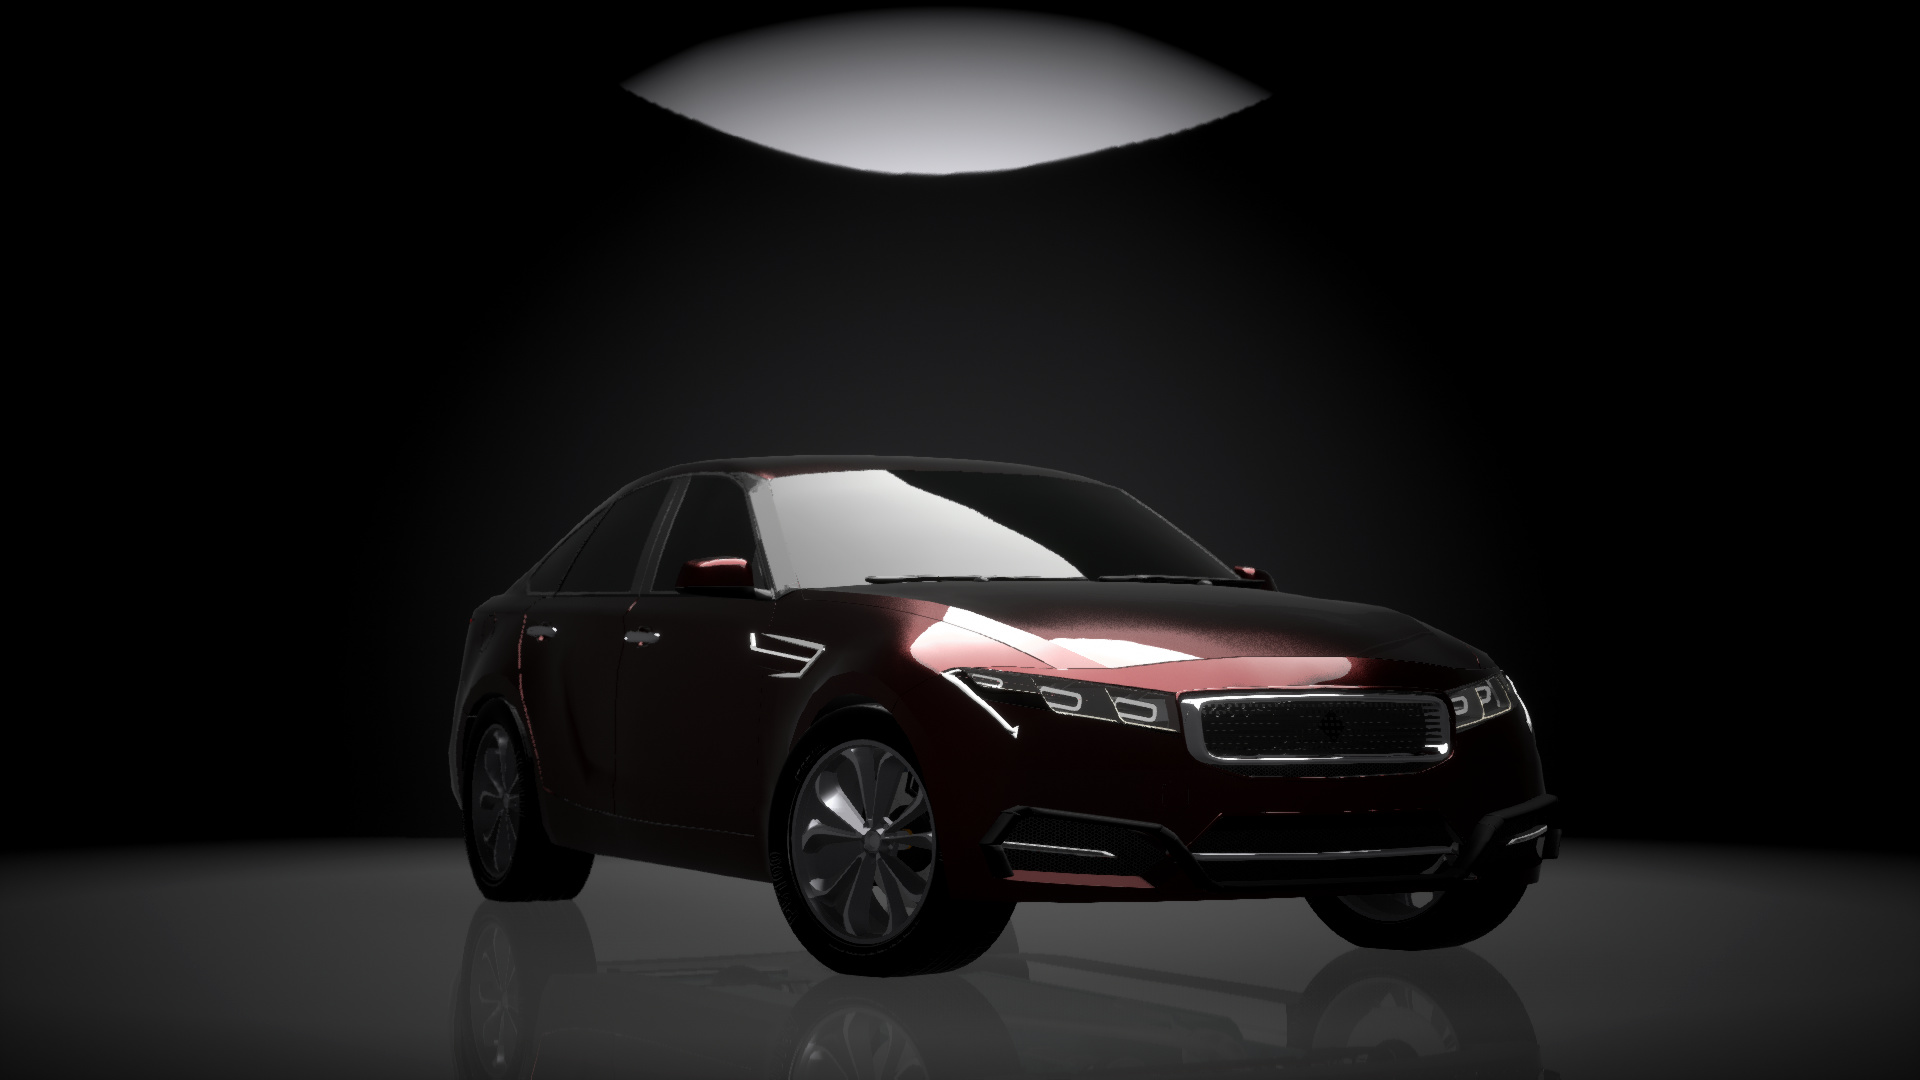
First things first, when you click on your car, you’ll notice red arrows appear above your car. These arrows are useful to move your car short distances or fine tuning it’s position. You can also click and drag your car to move it much faster and take the car with you while you move the camera. It is a bit finnicky, but clicking and holding in the center of the car should work.
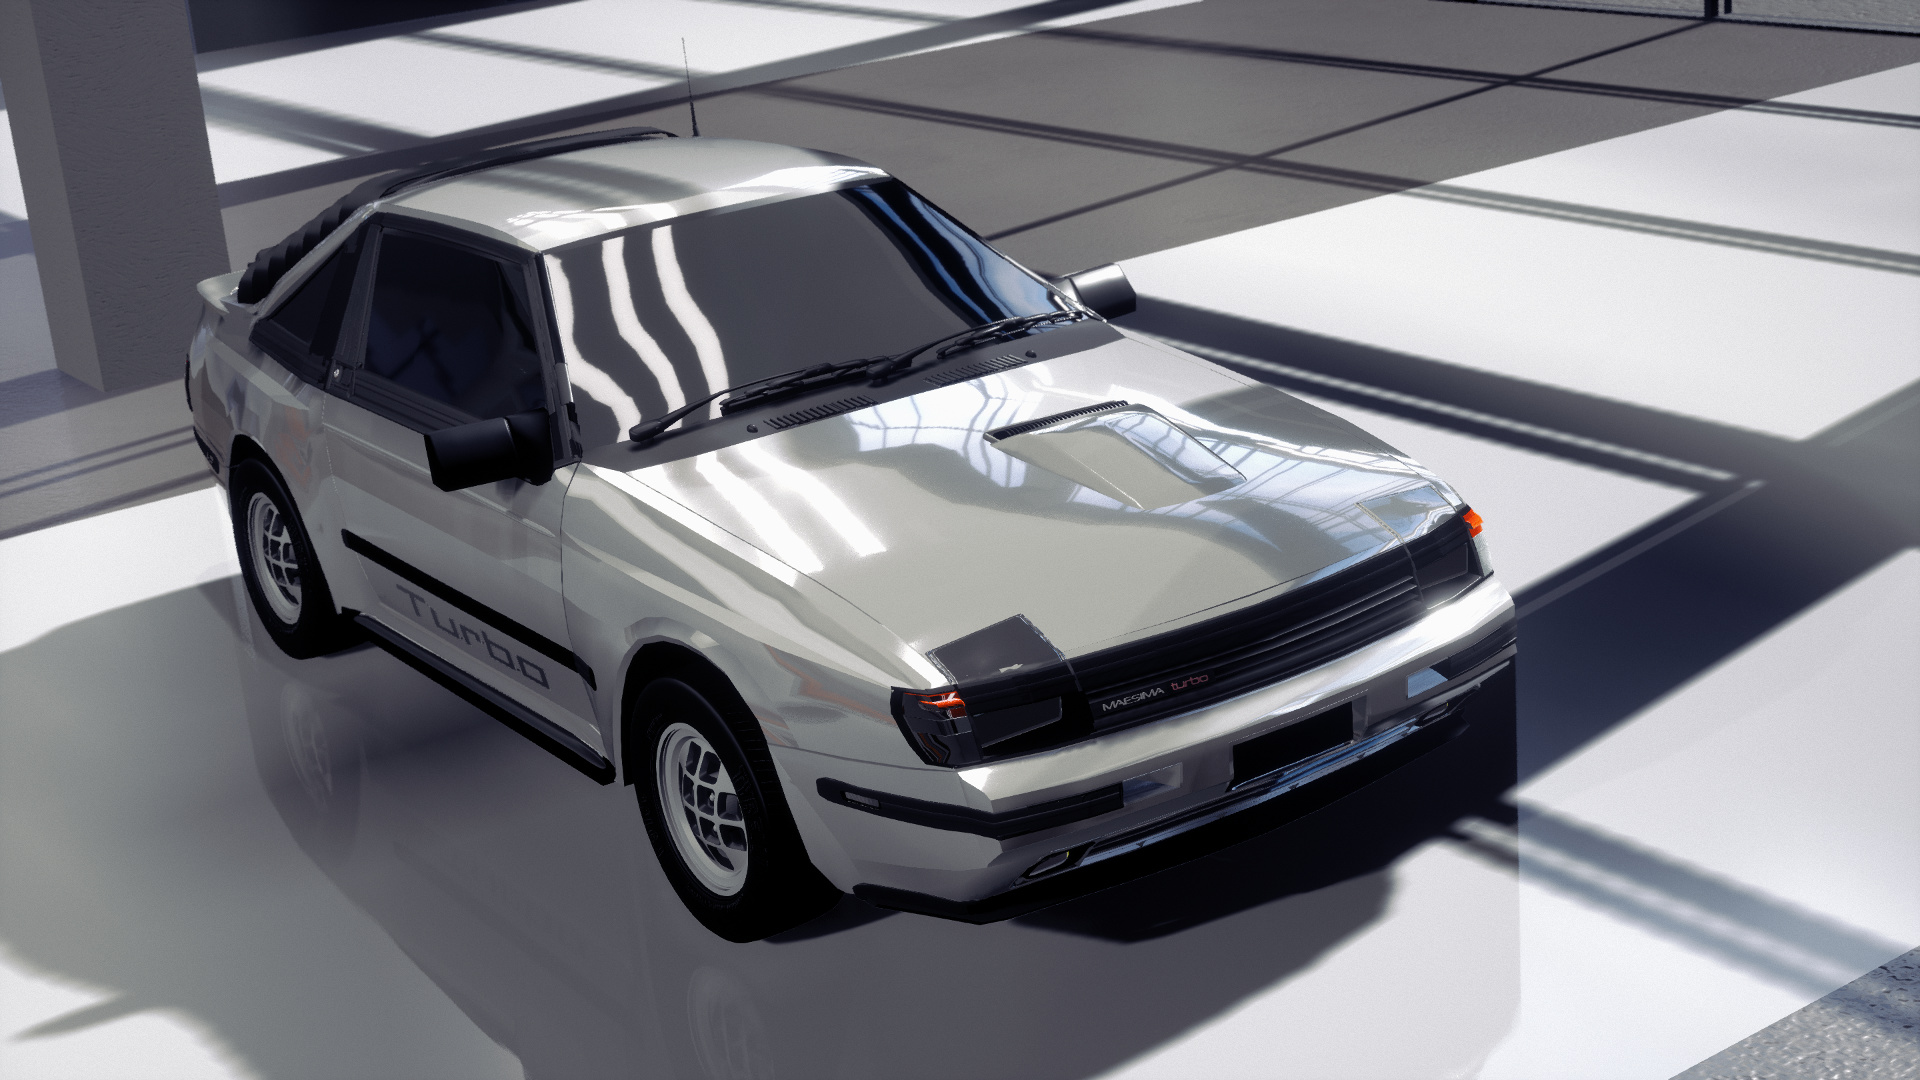
Aphoto


DESIGN LOFT

The design loft can have some of the best lighting in the game in certain situations. Cars are generally pretty shiny, so its not a bad idea to make the car paint less shiny than usual for this scene (I use somewhere between 1/4 to 1/2 way up the slider).

Partially transparent materials facing away from the window turn black. The landscape outside also isn’t as pretty as inside, so its best to shoot away from the window than towards it here.

There are plenty of shadows to play with that you can use to show off the lines of your car or add movement to the composition.

Most of the design loft has little color, which means there is a lot of room to play with filters without oversaturating the scene with bleeding colors and general ugliness, especially in the paint studio.
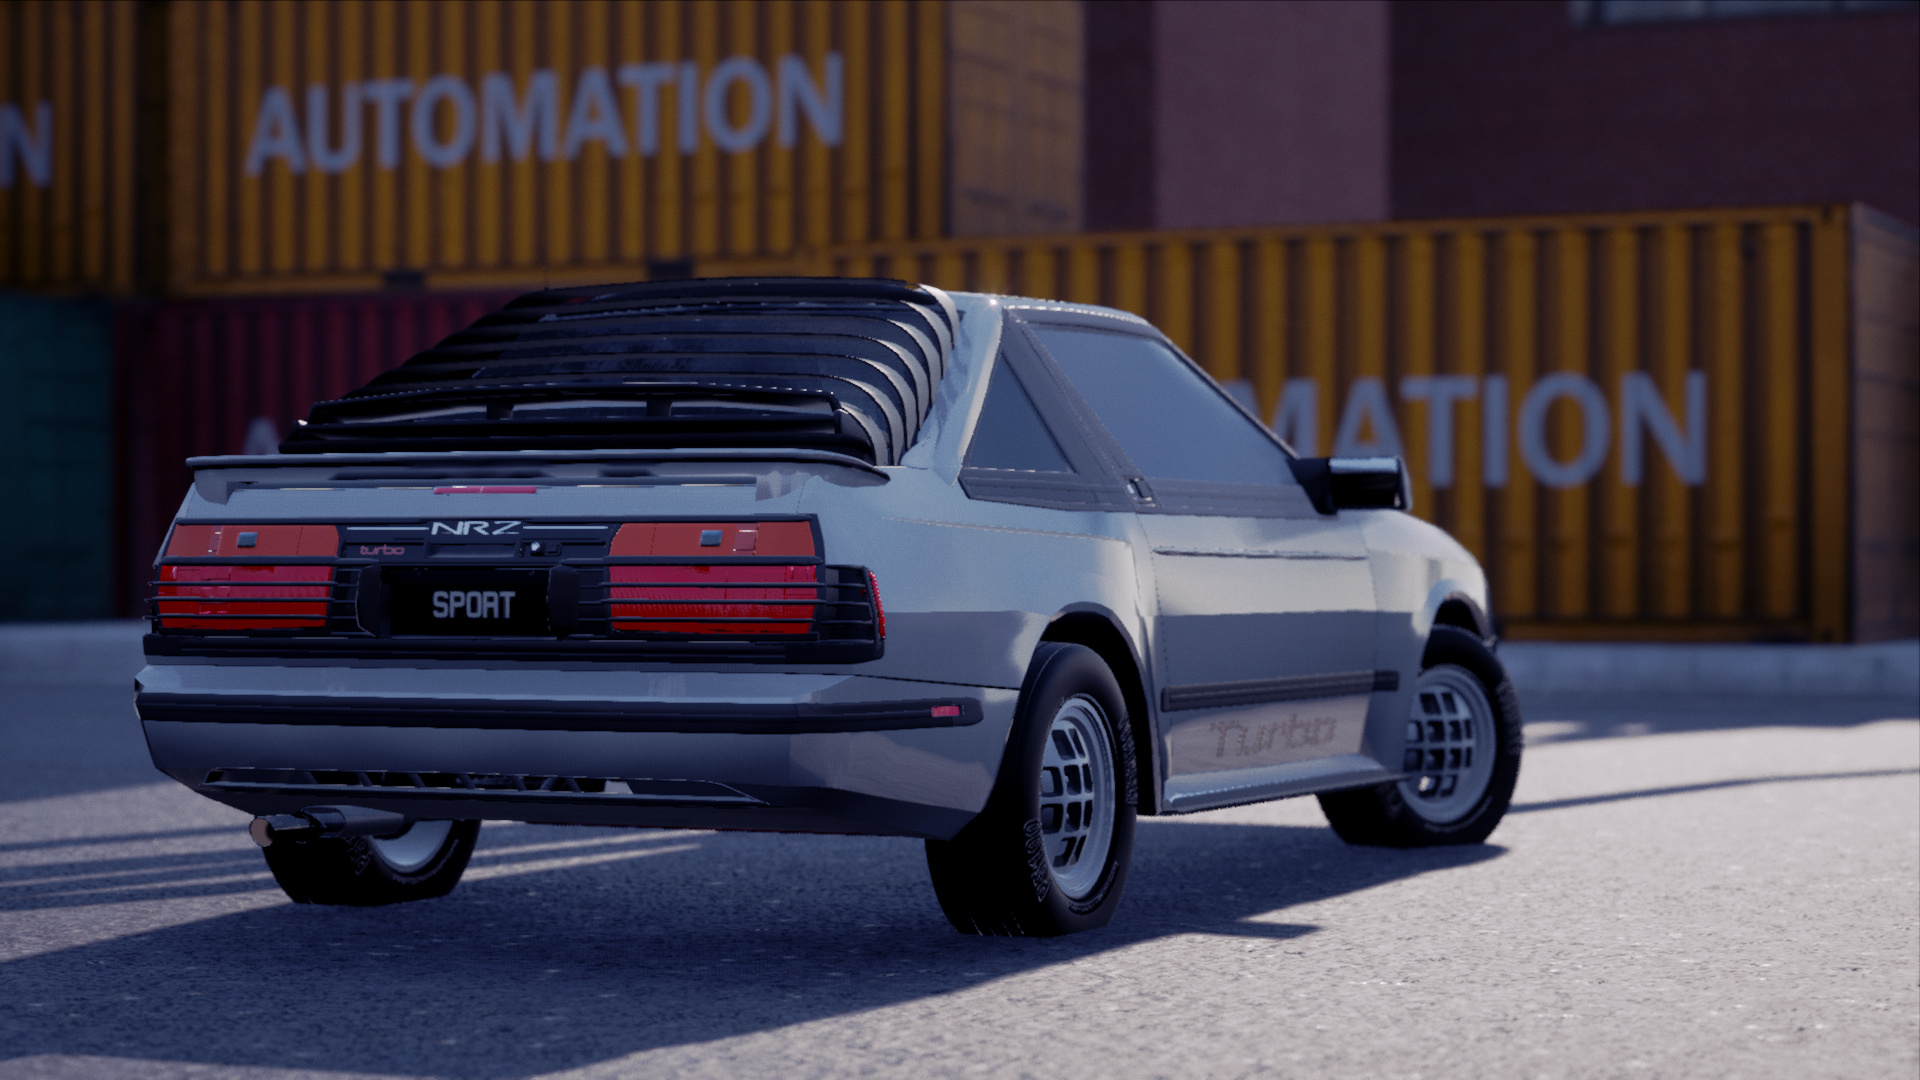
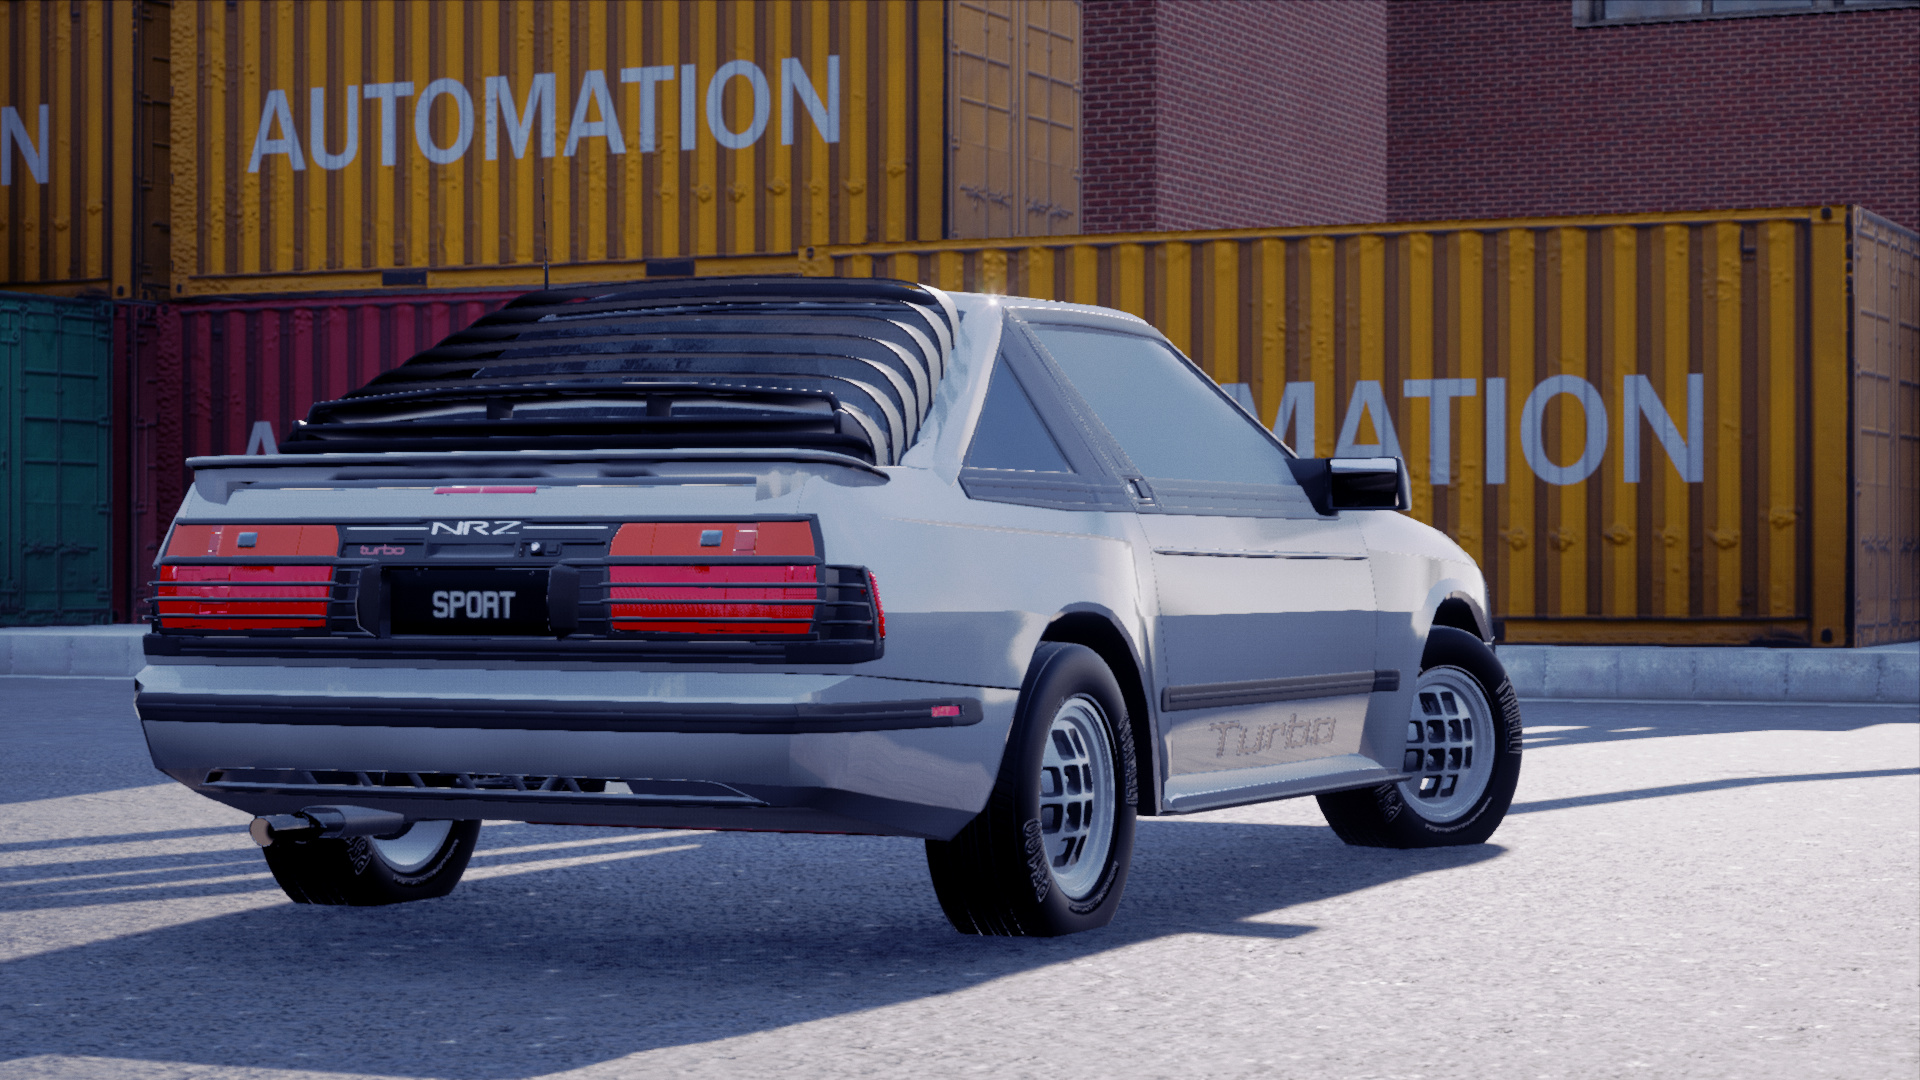

INDUSTRIAL CANAL

The canals recently got updated with new textures and adjustable time of day. This scene is nice for more stylistic lighting. Shadows have a purple haze :musical_note: to them and cars are a little less reflective than usual. The setting gives good opportunities to use the background to draw the eye to the car.

You can also click and drag cars onto the bridge for a change of scenery.

There’s no major difference between the Dry and Wet Canals. I find the afternoon compliments the lighting in the scene for a filtered look. You don’t want to take pics directly towards the sun. It turns lights dark and the reflections in the water get extremely bright and distracting.

If you have Photoshop or Gimp, you can color correct the image using a curves layer. You can take away some red and blue from the shadows for a more neutral lighting.


rtx on


ISLE OF SKYE

Isle of Skye has the benefit of a beautiful background that isn’t too distracting from the subject. The sun position is fixed and very bright, so you often have to commit to a strong, high contrast light looking one way, or bright, even lighting the other.

Plastic tends to look ugly with the sun behind the camera, but chrome and body color trim looks fine.

You can type in high values (like 500+) for the fog strength to give some nice atmosphereic perspective to the hills in the background.


SEA OF INFORMATION

Sea of Information is a radical place for your 80’s masterpieces. Besides the bright glowing colors, the scene also has some extreme chromatic abberation (that old 3d glasses-like effect). This effect is indirectly adjustable by changing your focal length.

Wide angle shots have a lot of chromatic aberration, but telescopic shots have almost none at all.

The chromatic aberration is even present in B&W and sepia tone photos. It is also worth noting that with the black and white filter maxed, saturation oddly still has a major influence on the look of the image.

This is another scene that is fun to play with crazy filters in, but be careful not to overdo it with the colors. Things can get eye-piercingly bright real quick.


EXTRAS

As a little bonus bit, here’s a way to attach a backdrop to your car and make your own “photo scene”. Take a fixture that is an additional mesh (something that scales uniformly only like exhausts) and scale it up until it creates a wall outside of the car.

Play with the material slots to get the color you want and bring it into a photo scene.

Indoor scenes seem to work best. Places like the Isle of Skye get weird reflections.

TO BE CONTINUED...

22 Likes

Photo Preset Pack


Thanks to @yangx2 and @Mr.Computah for the lovely cars!


Its easy to dump hours in the photo mode trying to get stuff to look good, and it usually takes awhile to build up presets, so I made a bunch of them for anyone to use who may not want to fuss with sliders and just take photos.

These presets aren’t all encompassing, I skipped on a lot of point-and-shoot sort of presets, but there are a lot of “artsy” filters and a few weird locations you may not have stumbled upon yet.


How to use:

Download this PhotoSceneSaveGame.sav file: https://drive.google.com/open?id=1tshhaRjMPXvnM72_uYTXspr9n3EcOZ4H

Find where the existing presets are in C:\Users(your username)\AppData\Local\AutomationGame\Saved\SaveGames

Make a backup of your old file (in case you want your old presets back).

Drop the downloaded file into the SaveGames folder and you’re good to go!


13 Likes