You did say you spent some time on the handling and it shows. I fiddled with it but I don’t think I can find a balance that I really think is nicer.
Okay here’s the rest of the field.
MR
The chief advantage of MR cars is their unique combination of weight distribution and drive type theoretically lending itself to superior road-holding, but as has been said many times, they’re finnicky to tune and to control if you don’t already know what you’re doing. Some here attacked that problem by making it even more finnicky to control lmao. Others did it by trying to take out all of the MR character. And some responded by making a race car without the race-car engine. And one decided that engine should be a V8 because 'murica. Wait, that’s one for each isn’t it.
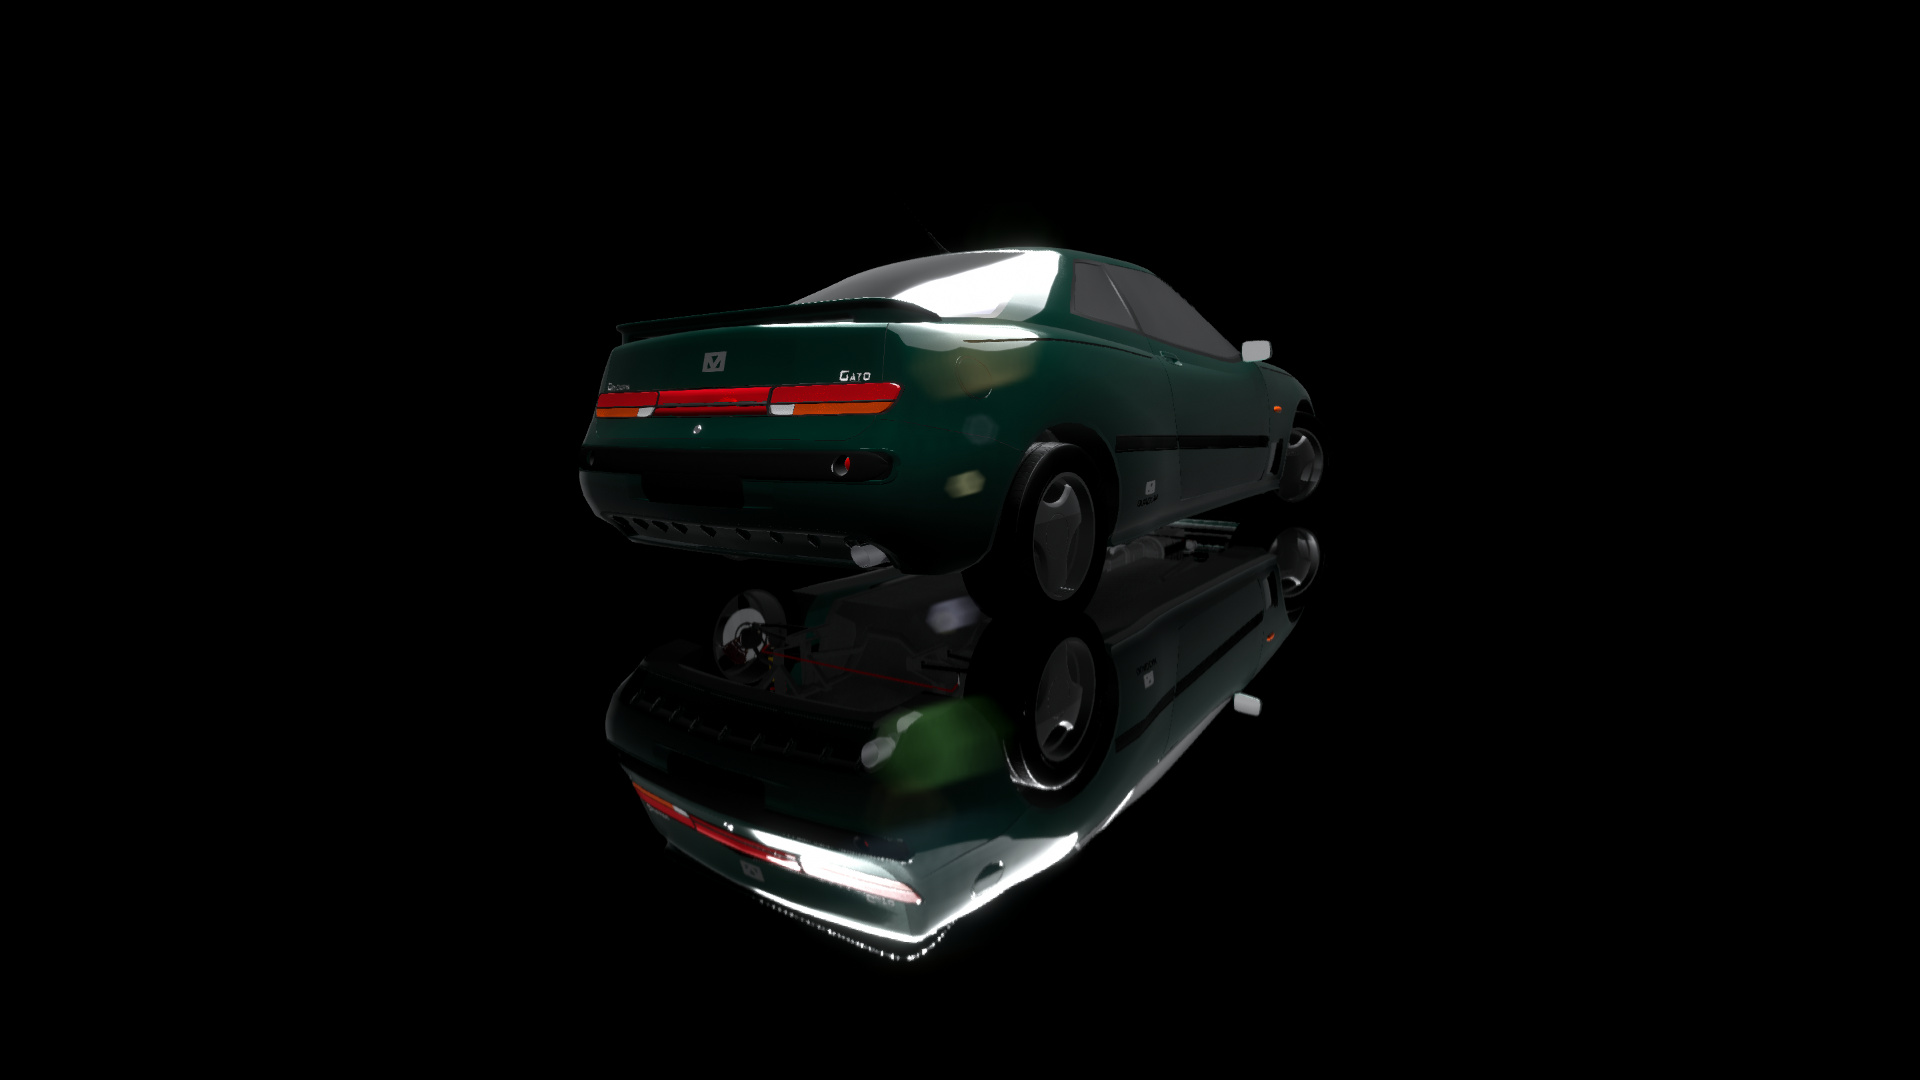
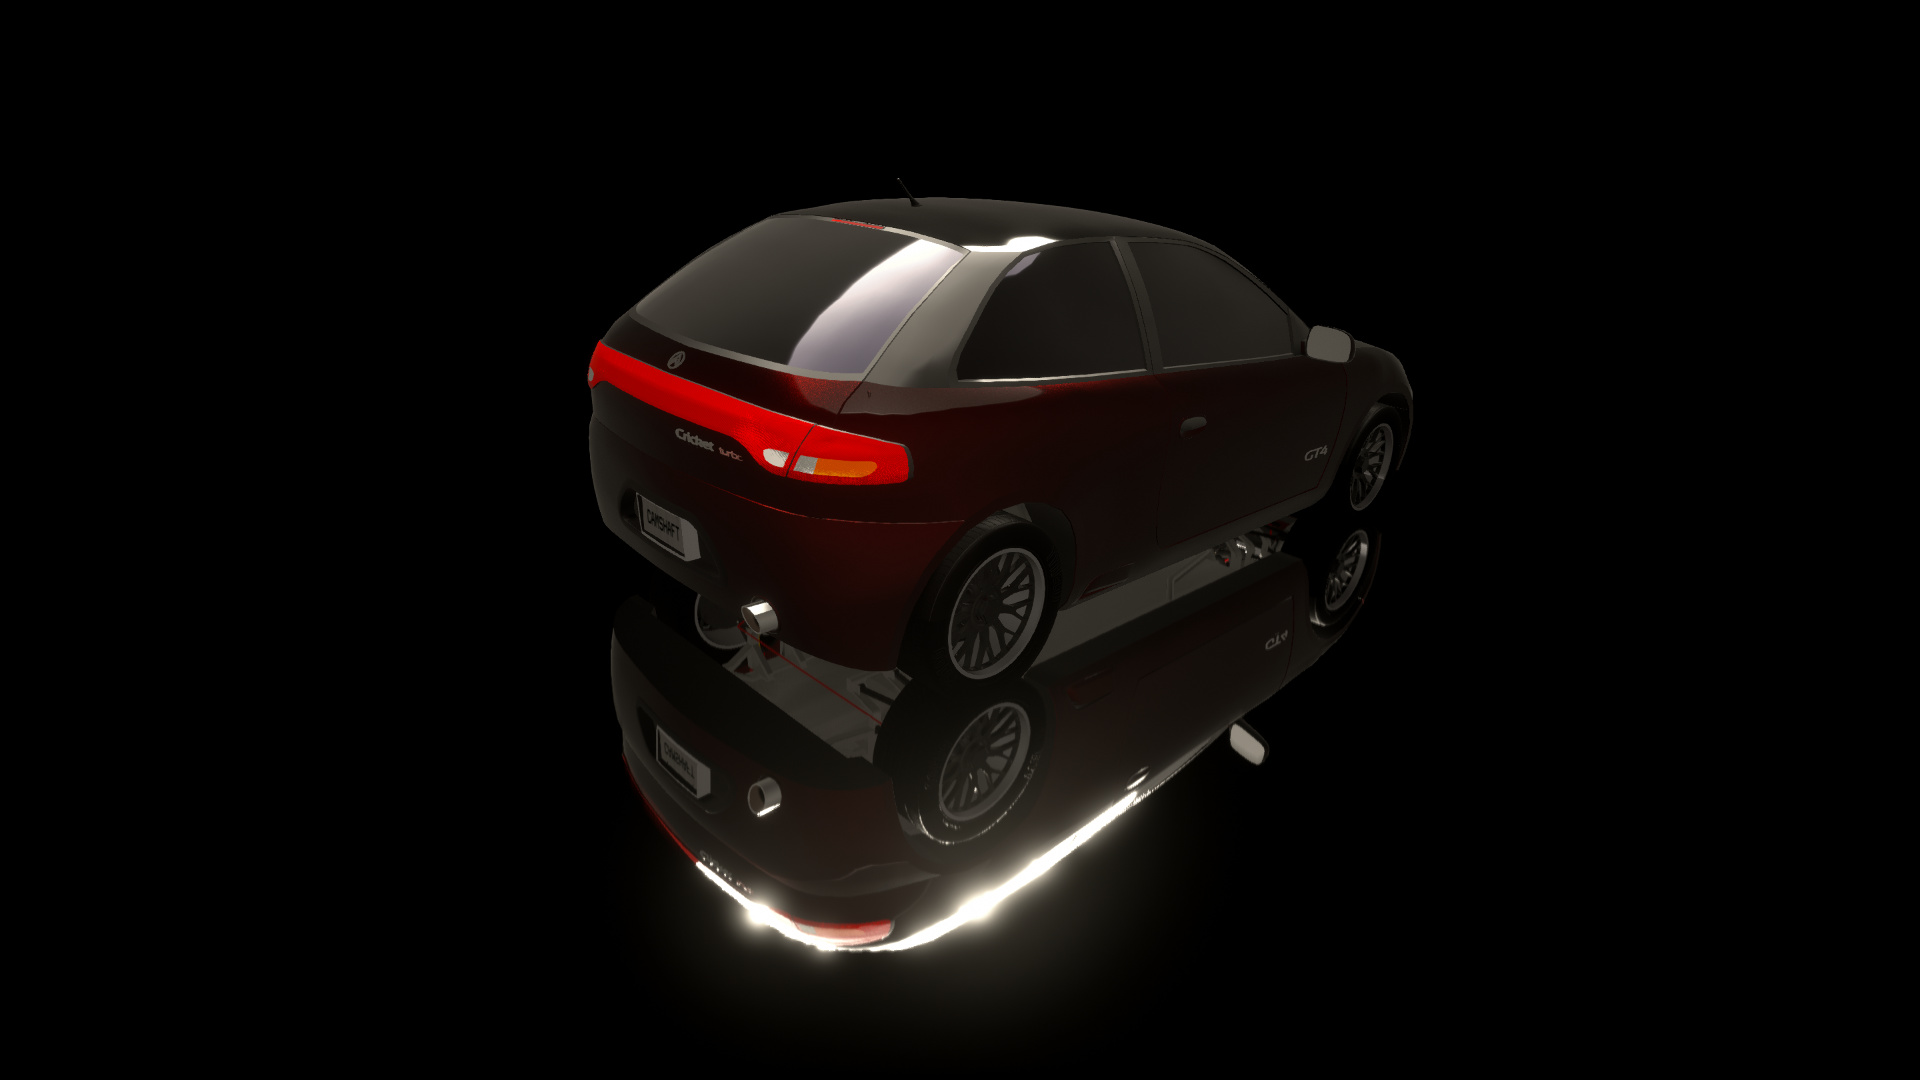
PugeHenis – 1983 Stelvio O-56

A most interesting handling set. The oversteer characteristic is present but subtle. The reasoning here is that the car is mostly under throttle or under braking in competitive situations and so this is the car that actually is steered by both the brakes and the throttle (but not at the same time). Throttle hard while the car is understeering and it will understeer. Lift off and it will nose in. Apply the brakes hard and it will straighten out. Lift off the brakes and it will also nose in. Use neither pedal with discretion (though I note that the dramatic oversteer characteristic warned about in the graphs is largely absent). It’s an exacting style that doesn’t suit all settings, but it certainly is an interesting one. My major gripe here is that there’s a giant gap in the power band between the gears, and it feels like a yawning chasm between 2nd and 3rd, and about the width of the Pacific Ocean between 3rd and 4th.
Cost: 11117
Format: MR
Seats: 2
Comfort: 0.2
Fuel Economy: 12.6L/100km
Power: 230hp
Weight: 1167.4kg
Power:weight ratio: 197.02hp:ton
strop’s Hirochi Short time: 1:09.986
strop’s Trial Mountain time: 1:59
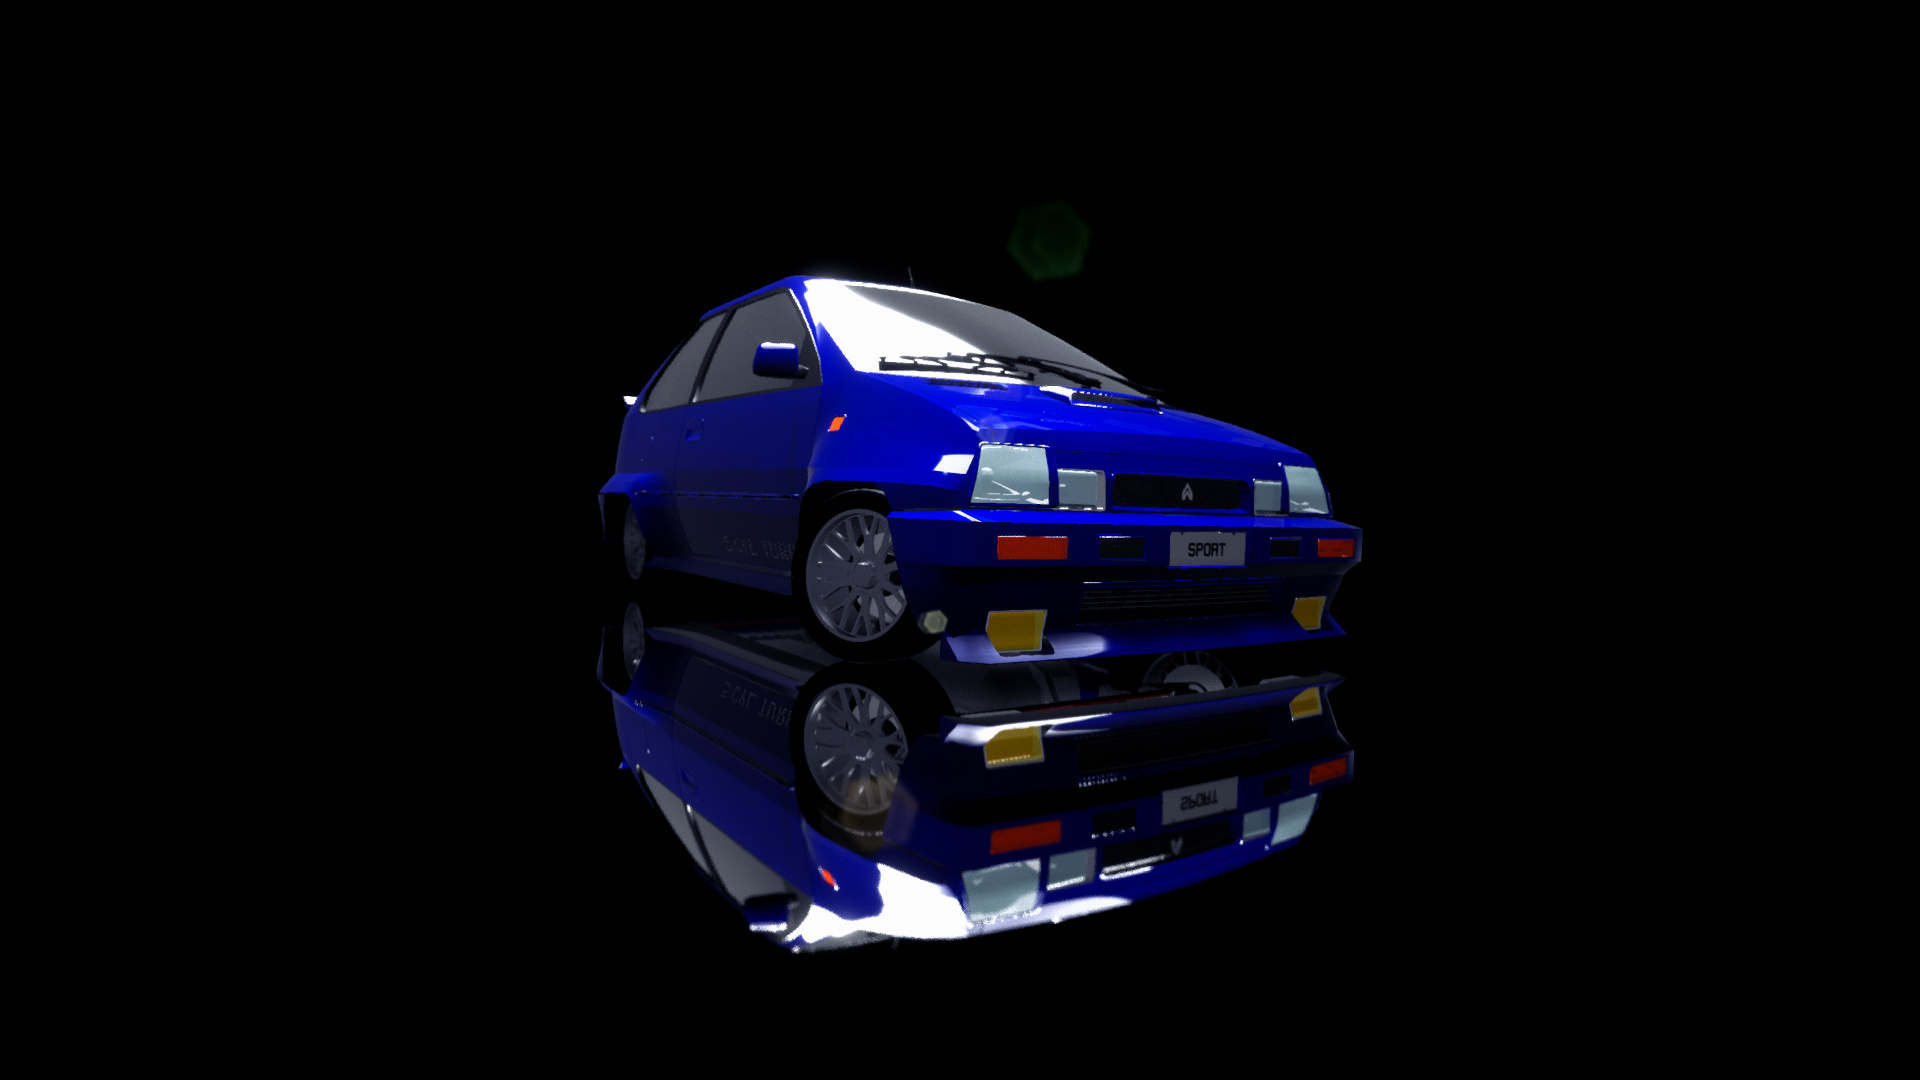
Lava_Cake – 1987 TX7 B6
This is a very gentle car, one that slowly introduces you to its capabilities and lets you overshoot the mark without punishing you for it. That the sway bars encourage a lot of precision in the front with a heavy understeer balance, and a very slow response in the rear means you have to really try very hard to be a dickhead to make it lose control. In this sense it’s perfect for novices new to the MR car, though for someone like me it’s going to feel a little limited. Beyond the metric, then, this does have a fair bit of the joy of slow-fast in it. If I were to change anything it’d be that the sway-bar treatment didn’t have to be as extreme as it did, as with this power to weight ratio the car isn’t all that prone to lethal handling issues anyway. But if I were to change this car I’d also give it turbo and do a great deal many things to it that probably isn’t in the spirit haha.
Cost: 10100
Format: MR
Seats: 2
Comfort: 15.9
Fuel Economy: 11.9L/100km
Power: 145.8hp
Weight: 1063.2kg
Power:weight ratio: 137.13hp:ton
strop’s Hirochi Short time: 1:11.282
strop’s Trial Mountain time: 2:00
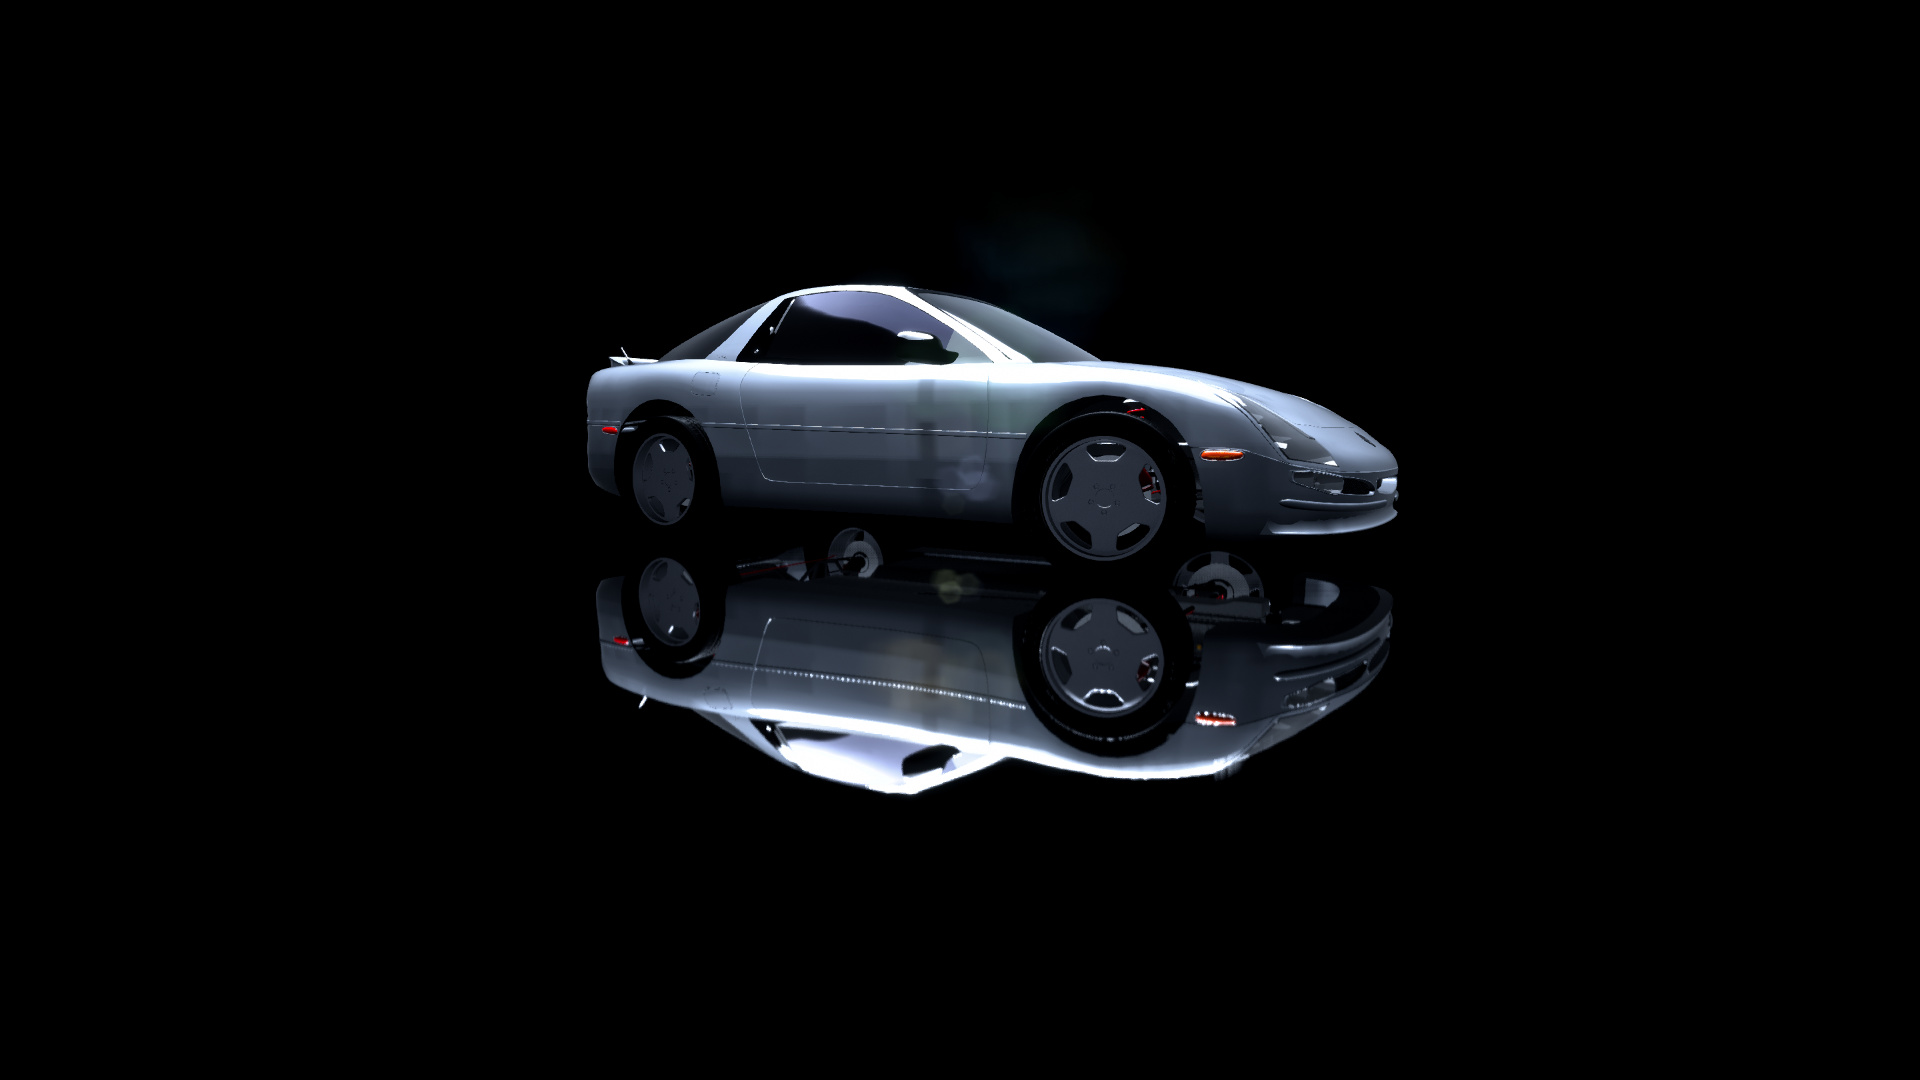
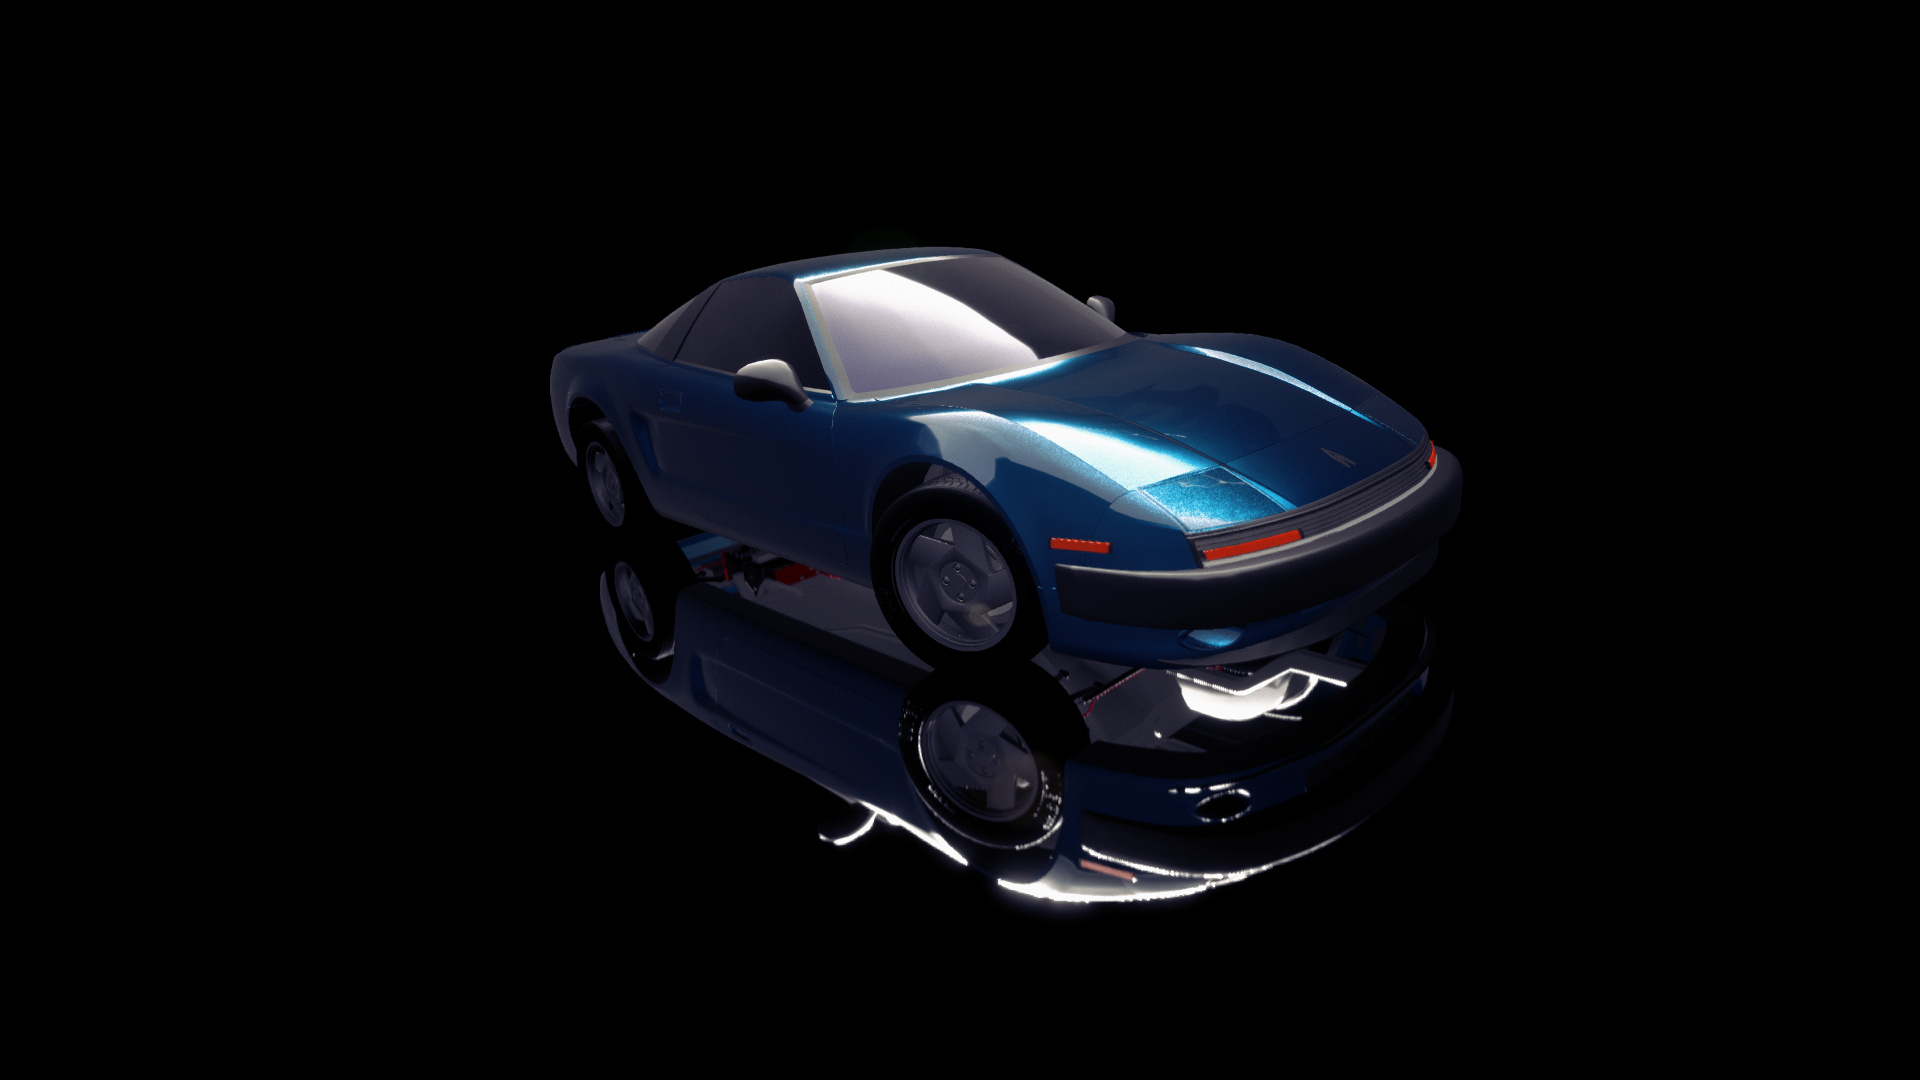
DoctorNarfy – 1991 Shromet Interval GTS

This is such a delight, hearing that meaty V8 burble yet driving a responsive yet pliant mid-engined machine that doesn’t kill you with snap oversteer. It’s thicc but nimble. It’s soft but supple. Flirty but dependable. The brakes overheated less than a lap into the session. By lap 3 the front discs were a pile of molten slag and I crashed into the Armco. Why the fuck did you not ventilate them!? This makes strop a very sad boye. I terminated the test at lap 3 because I made like Shingo and FUCKING DIED.
Cost: 11368
Format: MR
Seats: 2
Comfort: 10.1
Fuel Economy: 12.5L/100km
Power: 251.6hp
Weight: 1175.7kg
Power:weight ratio: 214hp:ton
strop’s Hirochi Short time: 1:07.027
strop’s Trial Mountain time: 1:53
CC9020 – 1992 Fuji RMS GTR Homologation
A 1 ton go-kart. With almost no suspension travel the car corners flat as anything. Ride a kerb of course, and you will definitely feel it as it concusses your spine. The extreme compression also means that the front tyres scrub easily, which creates the not-entirely true impression of a very smooth and gentle cornering characteristic. It’s smooth as long as the road is. And as smooth as your driving. It encourages you to drive smooth. Have I said that enough? When you drive it smooth it actually feels pretty damn great, until of course all your brakes overheat, which they will.
Cost: 9817
Format: MR
Seats: 2
Comfort: 2.6
Fuel Economy: 8.8L/100km
Power: 185.4hp
Weight: 1047.7kg
Power:weight ratio: 176.96hp:ton
strop’s Hirochi Short time: 1:09.594
strop’s Trial Mountain time: 1:54
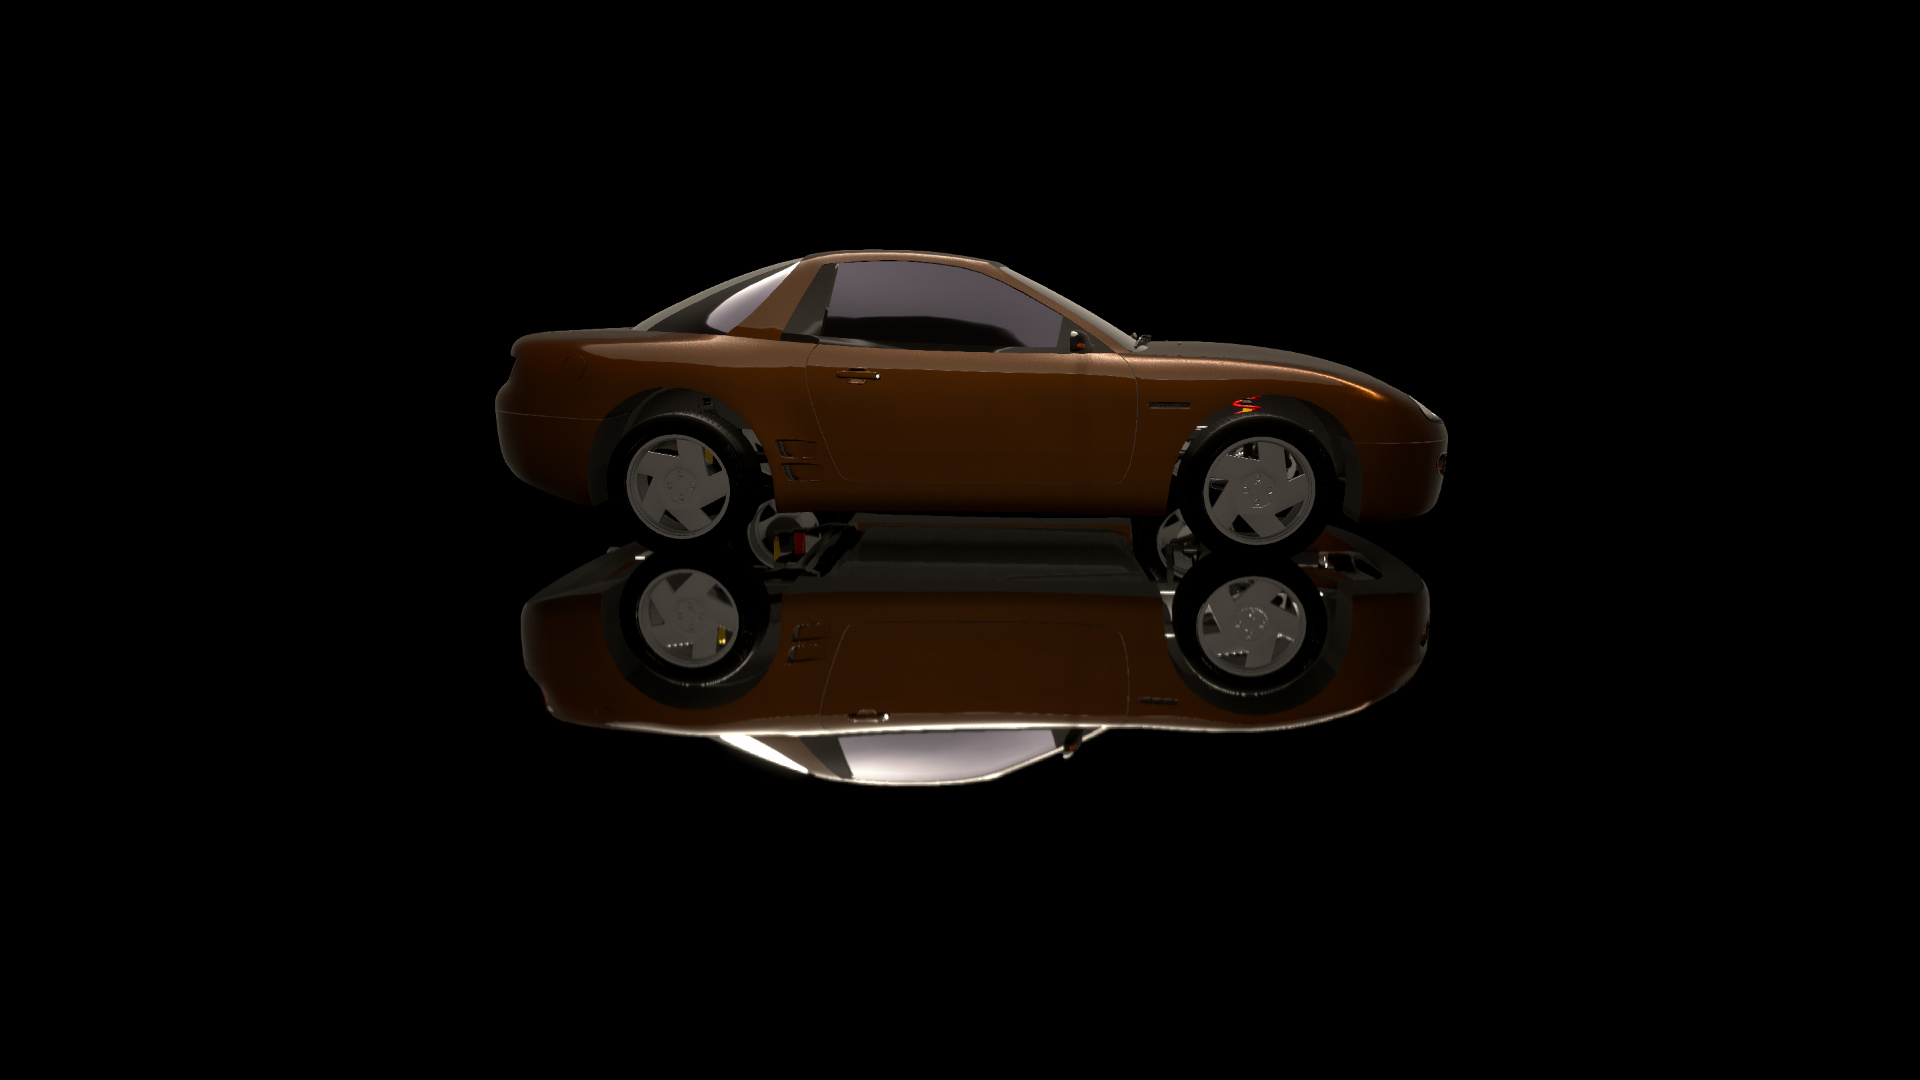
1983 Matteo Miglia Legatus

This car is a stiletto. It’s about as sharp, as pointy, and as comfy. The handling is exact and exacting. It will tell you precisely where its limits are and how to stay on them. You can give it a poke and get it a bit sideways if you like but that’s playing with fire. As an older car it has less traction and the gearing is wider hence its disadvantage despite being lightweight and relatively powerful, but there’s no denying the sheer cool factor.
Cost: 9231
Format: MR
Seats: 2
Comfort: 4.2
Fuel Economy: 13.1L/100km
Power: 197.3hp
Weight: 884.6kg
Power:weight ratio: 223hp:ton
strop’s Hirochi Short time: 1:07.07
strop’s Trial Mountain time: 1:51
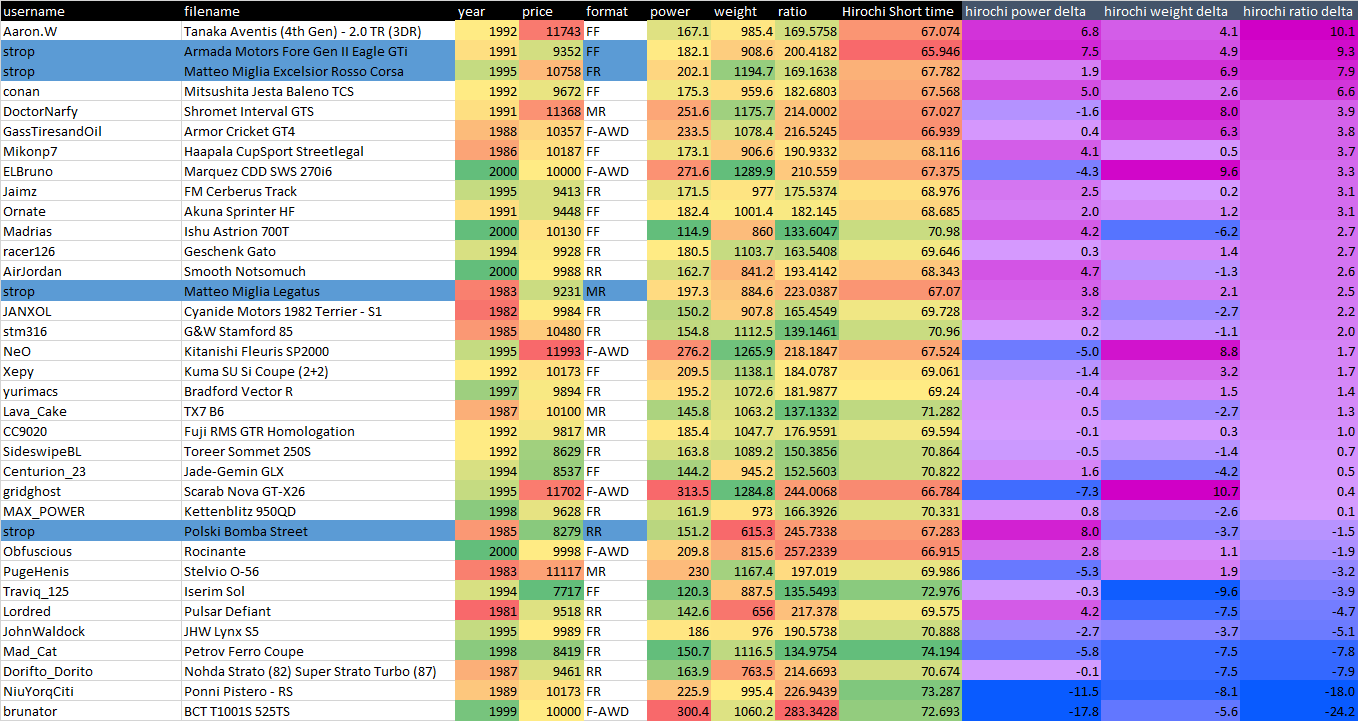
In a table, then:
and compared to my reference car:
4 very different entries, like comparing an apple, an orange, a banana and a tomato…
RR
The real tricky one. When I looked up real life examples of rear-engined cars (aside from Porsche of course) I found that most of them had rather low power outputs with the notable exception of a couple of the A310 trims, and the A310 doesn’t really have a short wheelbase. I suspect that the handling characteristics one could colloquially refer to as instant death would have discouraged much flirtation with the kind of power to weight ratios as we were bandying about here. There may have been only 3 entries but of all the classes I shed the most sweat driving these. Well, 2 of them. One of them was a doddle.
Lordred – 1981 Pulsar Defiant

It’s not easy tuning a rear-engined car with a short wheel base. Especially when it’s really light. These things have some real character and quirks that require a driver who is already used to it and even then driving it on the limit is hard, particularly because the tendency to get flighty under brakes is exacerbated by the relatively instability of the power oversteer because the wheels are all so close together. Also as this car is the oldest in the lineup, it appears to be slow for its power, but in fact it does carry a few tricks up its sleeve and if mastered can dart into a corner with a very late braking point. Doing this does take extreme precision, though.
Cost: 9518
Format: RR
Seats: 2
Comfort: 2.6
Fuel Economy: 13.9L/100km
Power: 142.6hp
Weight: 656kg
Power:weight ratio: 217.38hp:ton
strop’s Hirochi Short time: 1:09.575
strop’s Trial Mountain time: 1:57
Dorifto_Dorito – 1987 Nohda Strato (82) Super Strato Turbo (87)

This is even more binary than Lordred’s Pulsar. There is simultaneously more and less give in the suspension, meaning that it lurches harder and kicks out more and is also even harder to time the catch when pendulum oversteering. Whereas the Pulsar was a bit self-limiting in its behaviour, there’s no such limit here and getting careless on the brakes here for even a quarter of a second too much results in swapping ends. Ultimately the way to drive this around a technical track with tightening and loosening curves was to approach the line very very evenly and reserved, with the exception of certain chained corners in which the power oversteer option was attractive, but only under 110km/h, because more than that and the car didn’t have enough power to light up the rears and all that happened was a hugely unnecessary loss of speed. Technically the way to drive a rear-engined car is to brake ultra late and to turn with the butt, but the timing was just too too difficult to do it consistently.
Cost: 9461
Format: RR
Seats: 2
Comfort: 11.4
Fuel Economy: 12L/100km
Power: 163.9hp
Weight: 763.5kg
Power:weight ratio: 214.67hp:ton
strop’s Hirochi Short time: 1:10.674
strop’s Trial Mountain time: 1:59 with a lot of extreme sideways

AirJordan – 2000 Smooth Notsomuch

The characteristic of the rear-engine car is subtle and muted in this rather stable machine. Balanced towards understeer, it takes quite a bit of provocation to unsettle and with relatively soft suspension the response is predictable and even. Apply more throttle and it straightens out promptly. The corner speed isn’t actually slow, but because it’s so easy to straighten out, it perpetually feels like it doesn’t want to corner any faster. Already easy to master around Trial Mountain, it’s probably going to be a bit of a yawn-fest on fast tracks, but on more technical downhill runs it might show more character.
Cost: 9988
Format: RR
Seats: 2
Comfort: 13.3
Fuel Economy: 6L/100km
Power: 162.7hp
Weight: 841.2kg
Power:weight ratio: 193.41hp:ton
strop’s Hirochi Short time: 1:08.373
strop’s Trial Mountain time: 1:56
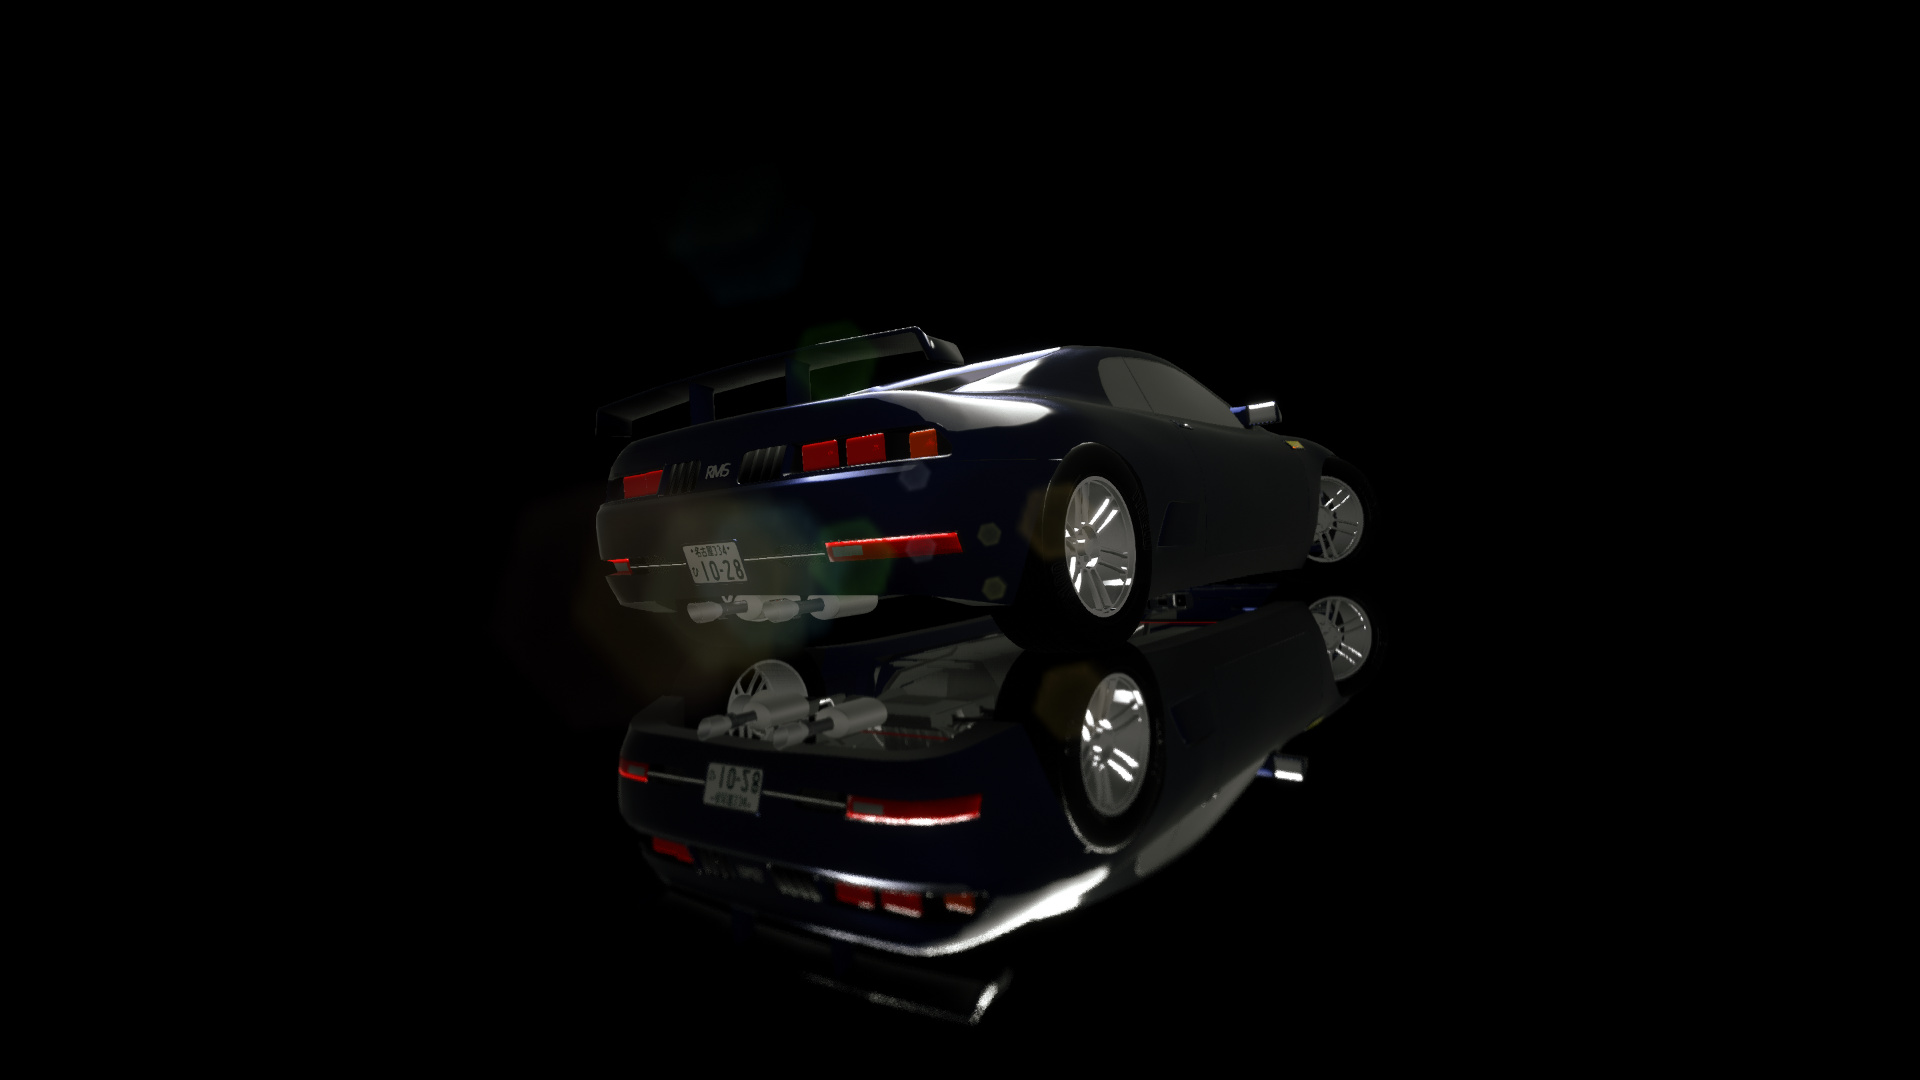
1985 Polski Bomba Street

Holy hell the suspension is stiff. It has to be, because if it wasn’t the rear would pitch and send the car off line and turn into a wrecking ball, complete with pendulum effect. The big problem with all the RR entries is that even if they’re super light and can theoretically corner well, it takes extremely precise throttle and brake control to actually achieve that evenly. The only alternative is to set the power to traction ratio way higher, lengthen the wheelbase and then you’ll have a CTR Yellowbird, but that’s clearly not in the scope of this challenge. Since this is not a Yellowbird, driving it smoothly and maybe even a little cautiously yields the best result.
Cost: 8279
Format: RR
Seats: 2
Comfort: 2.8
Fuel Economy: 8.6L/100km
Power: 151.2hp
Weight: 615.3kg
Power:weight ratio: 245.7hp:ton
strop’s Hirochi Short time: 1:07.283
strop’s Trial Mountain time: 1:52
In a table, then:
and compared to my reference car:
Yeah okay my car’s not much of a reference when I pretty much made it an outlier, lol. I also tuned it to be quite firm so it’s more like a hot tune that’s barely streetable, but that’s what it took to even bring it up to parity as you can see.


 but fitting with what i was trying to achieve