TOPIC #1: ADJUSTING THE CAMERA
(Thank you @Rk38 for that lovely lovely cars!)
Want to have your whole shot in focus? Want to have lots of bokeh instead? Want your shot to look really fast or solid and stationary? You came to the right place. Let’s get started!
FOCAL LENGTH
Focal length is the amount of zoom your lens is providing. To put it simply: a higher focal length means more zoom, and a lower focal length means less zoom. Does it mean high focal lengths are the way to go always? No, not at all, there’s a reason wide angle lenses exist. Let’s take a look at them with an Automation example!
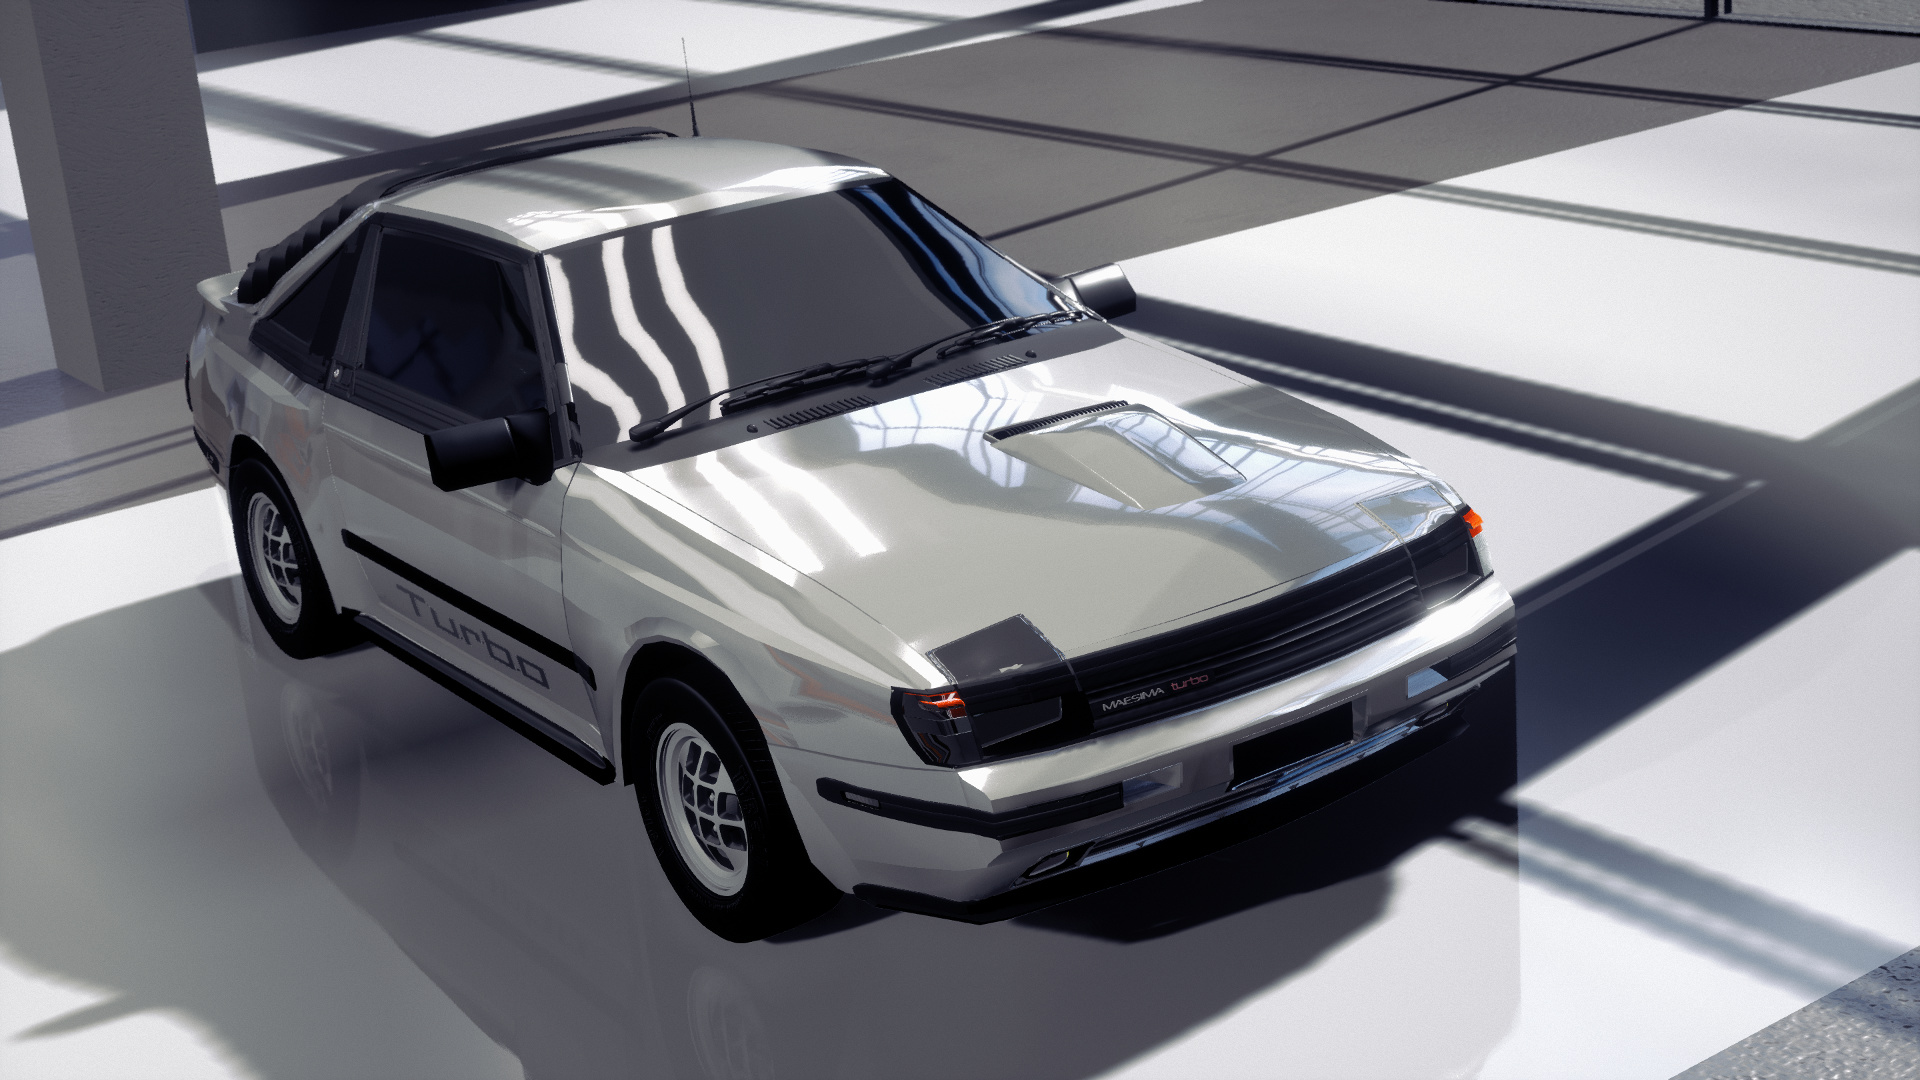
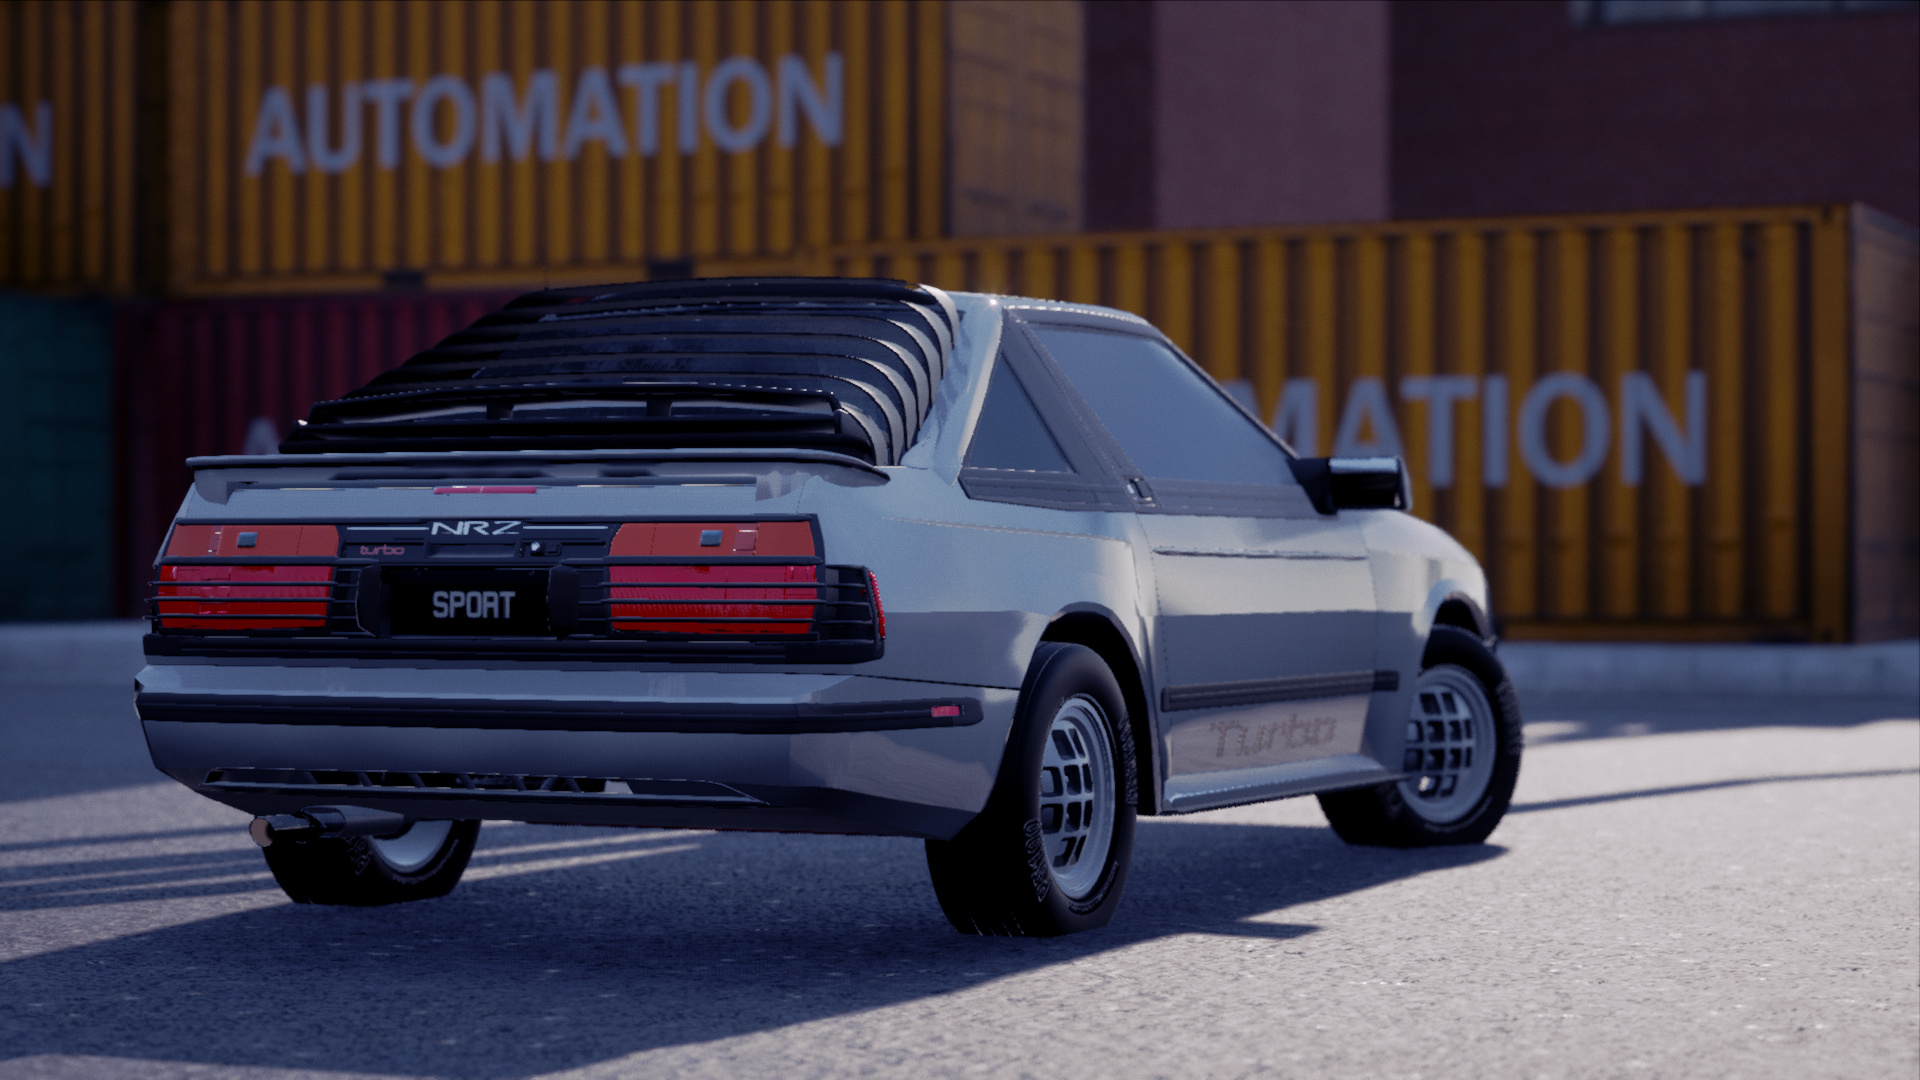
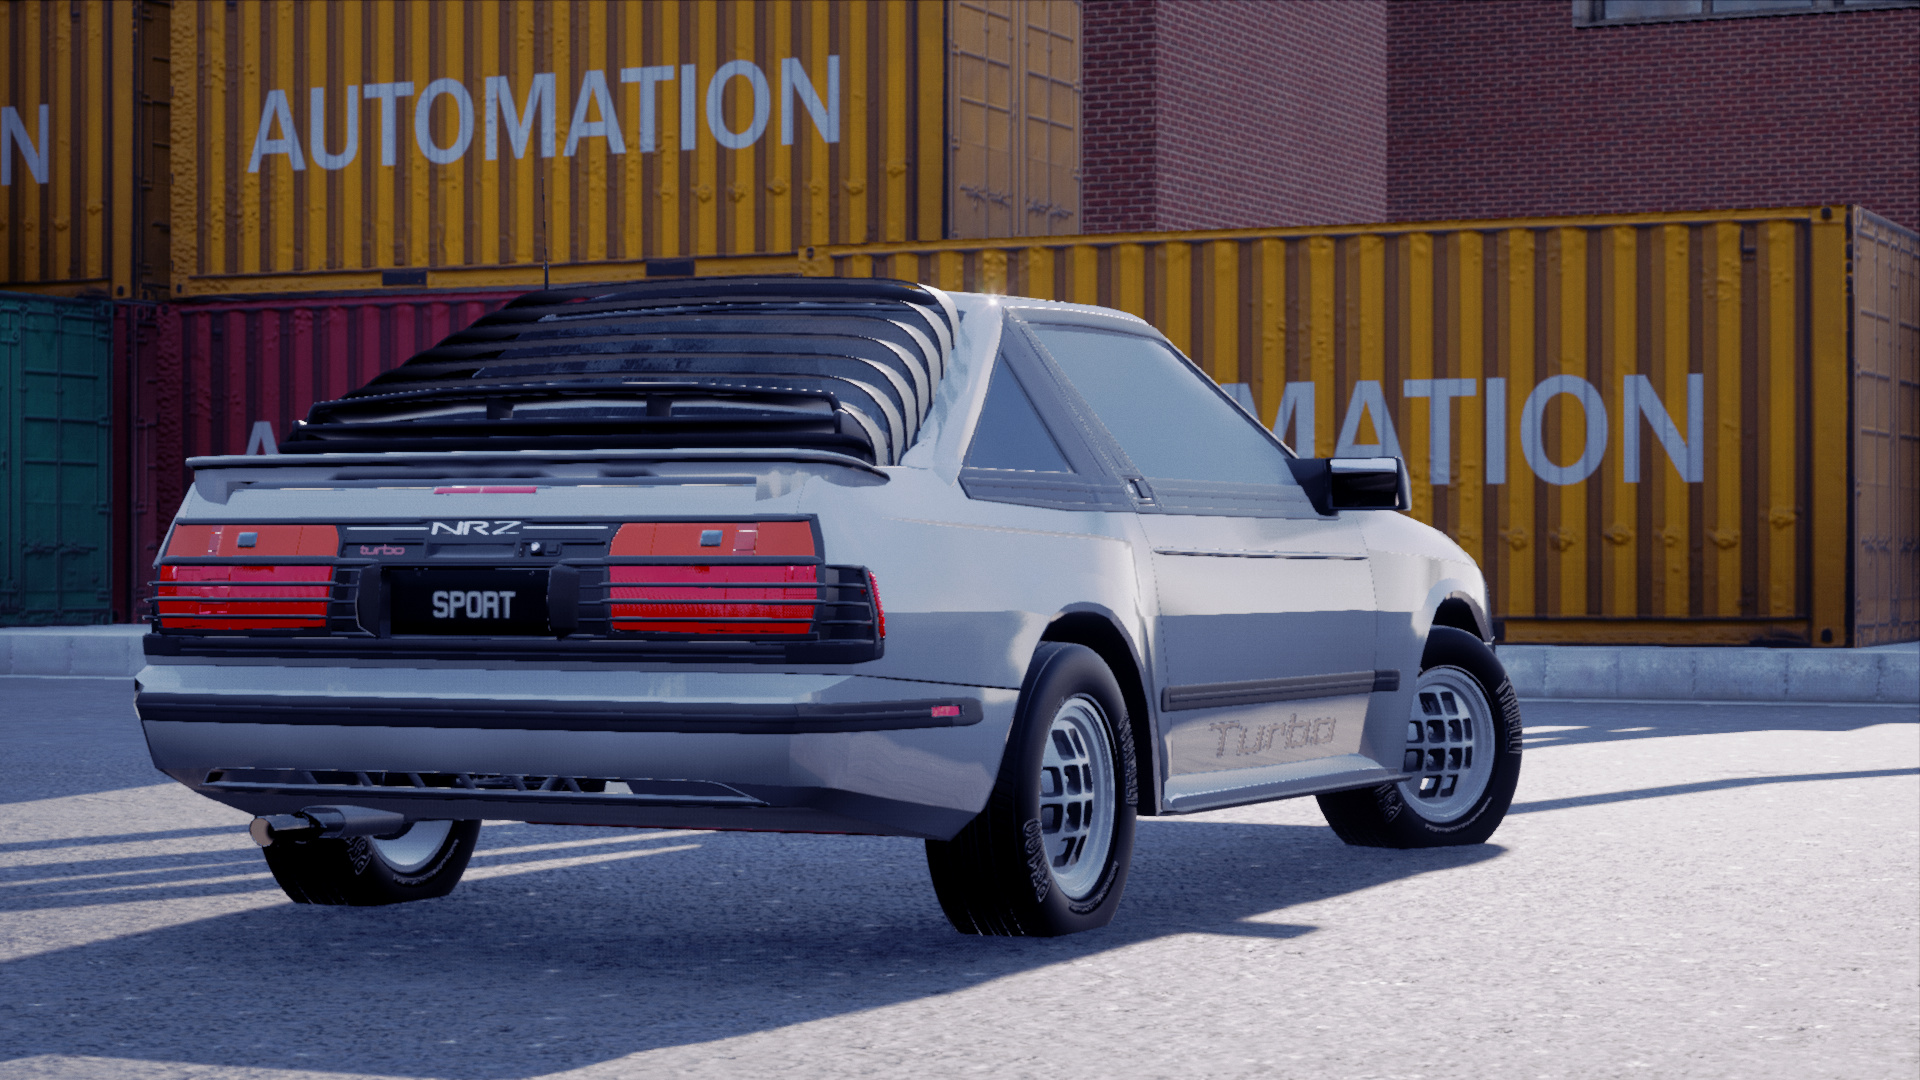
Focal length: 8-35 (mm), is what we call a wide angle. See how the distances and field of view are magnified greatly. Great for when we want to make our cars look faster and/or more dynamic. Don’t overdo it though, or you’ll make your shots look horribly distorted.

Focal length: 40-50 (mm), what we can a normal focal length (for a 35mm negative or full frame sensor, which is what Automation uses). The distances and field of view are more or less the same of those of the human eye, which gives the image a natural look.

Focal length: >50 mm, is what we call a telescopic focal length. Objects are flattened and distances are reduced greatly. Can be good for shooting cars in the distance and/or making them look more stationary. Don’t overdo it, though, or your shots will look flat and boring.

As I said, there’s no correct focal length for every situation. Here is an example of where each focal length (wide angle, normal, telescopic) is the best way to go.
WIDE ANGLE:

NORMAL:
TELESCOPIC:

APERTURE
This is measured in F stops. Usually this is a key factor when exposing a picture in real life, specially when using flash, but it doesn’t seem to matter in Automation, so it just controls depth of field. Depth of field is the distance between the closest and the furthest object still in focus in a picture. The more depth of field, the more objects will be in focus.
How do we control depth of field to get some lovely bokeh or having everything focused? It’s simple. Wide apertures (low aperture numbers) will give us less depth of field than narrow apertures (high aperture numbers).
Here’s an example, with both pictures focused at exactly the same distance.
APERTURE 1.8
APERTURE 11.0

TILT.
This one is self explanatory. How tilted the camera is when taking a shot. A tilted camera can give the sensation of speed, unstability and dynamism, but don’t overdo it or it’ll look annoying to the watcher.
EXPOSURE.
The amount of light the camera receives. This would be done through the triangle of exposure in real life, but in Automation you get a convenient slider instead. The more exposure, the brighter your picture will be (if you overdo it, you’ll get a burnt/overblown image), and the less exposure, the darker your picture will be (if you overdo it, you’ll get an underexposed/blacked out image).
EXPOSURE: 0

EXPOSURE: 1
EXPOSURE: -1

Playing around with exposure to achieve different results is best. You can do low key shots (dark), high key shots (bright) or a “correct” exposure, you could also use exposure to simulate night while in daylight or many other things.
Don’t think that shoving your exposure right at 0 is the way to go, play with it and see how it affects the image.
FILTERS
In real life, these are pieces of glass you put in front of your lens. In Automation, it’s a set of convenient options that change your image according to an effect that you can also regulate with the filter strenght slider. Don’t overdo the filters or your image will look too funky; subtle filter usage is usually best.
LENS DIRT
How dirty your “lens” is. The dirtier it is, the more strange particles will appear all over your image. It’s up to you whether you like the “dirty old lens” look or not.