So you’ve built an awesome car, great! But now you wanna make an even more awesome version that’s like a track car or something but you wanna make some mad changes, like a fibreglass body, stick the engine in the boot or even bring some new tech to an old car?. You can’t, what a bummer, or can you?
Here comes the magic of database editing to save the day, and database editing in the good and not cheaty way too so everyone wins!
Pt.0.5 - Stuff you’ll need
Sadly we can’t just use notepad to get the job done, so you’ll need to download a program capable of editing and writing to MySQL databases, I’ll be using DB Browser for SQLite in this guide (it’s free!) common sense will also be required
Pt.1 - The Setup
1.1 - Backups
First thing’s first, open up your Automation folder (Documents\My Games\Automation) and make yourself a copy of “Sandbox_openbeta.db”

1.2 - In-Game
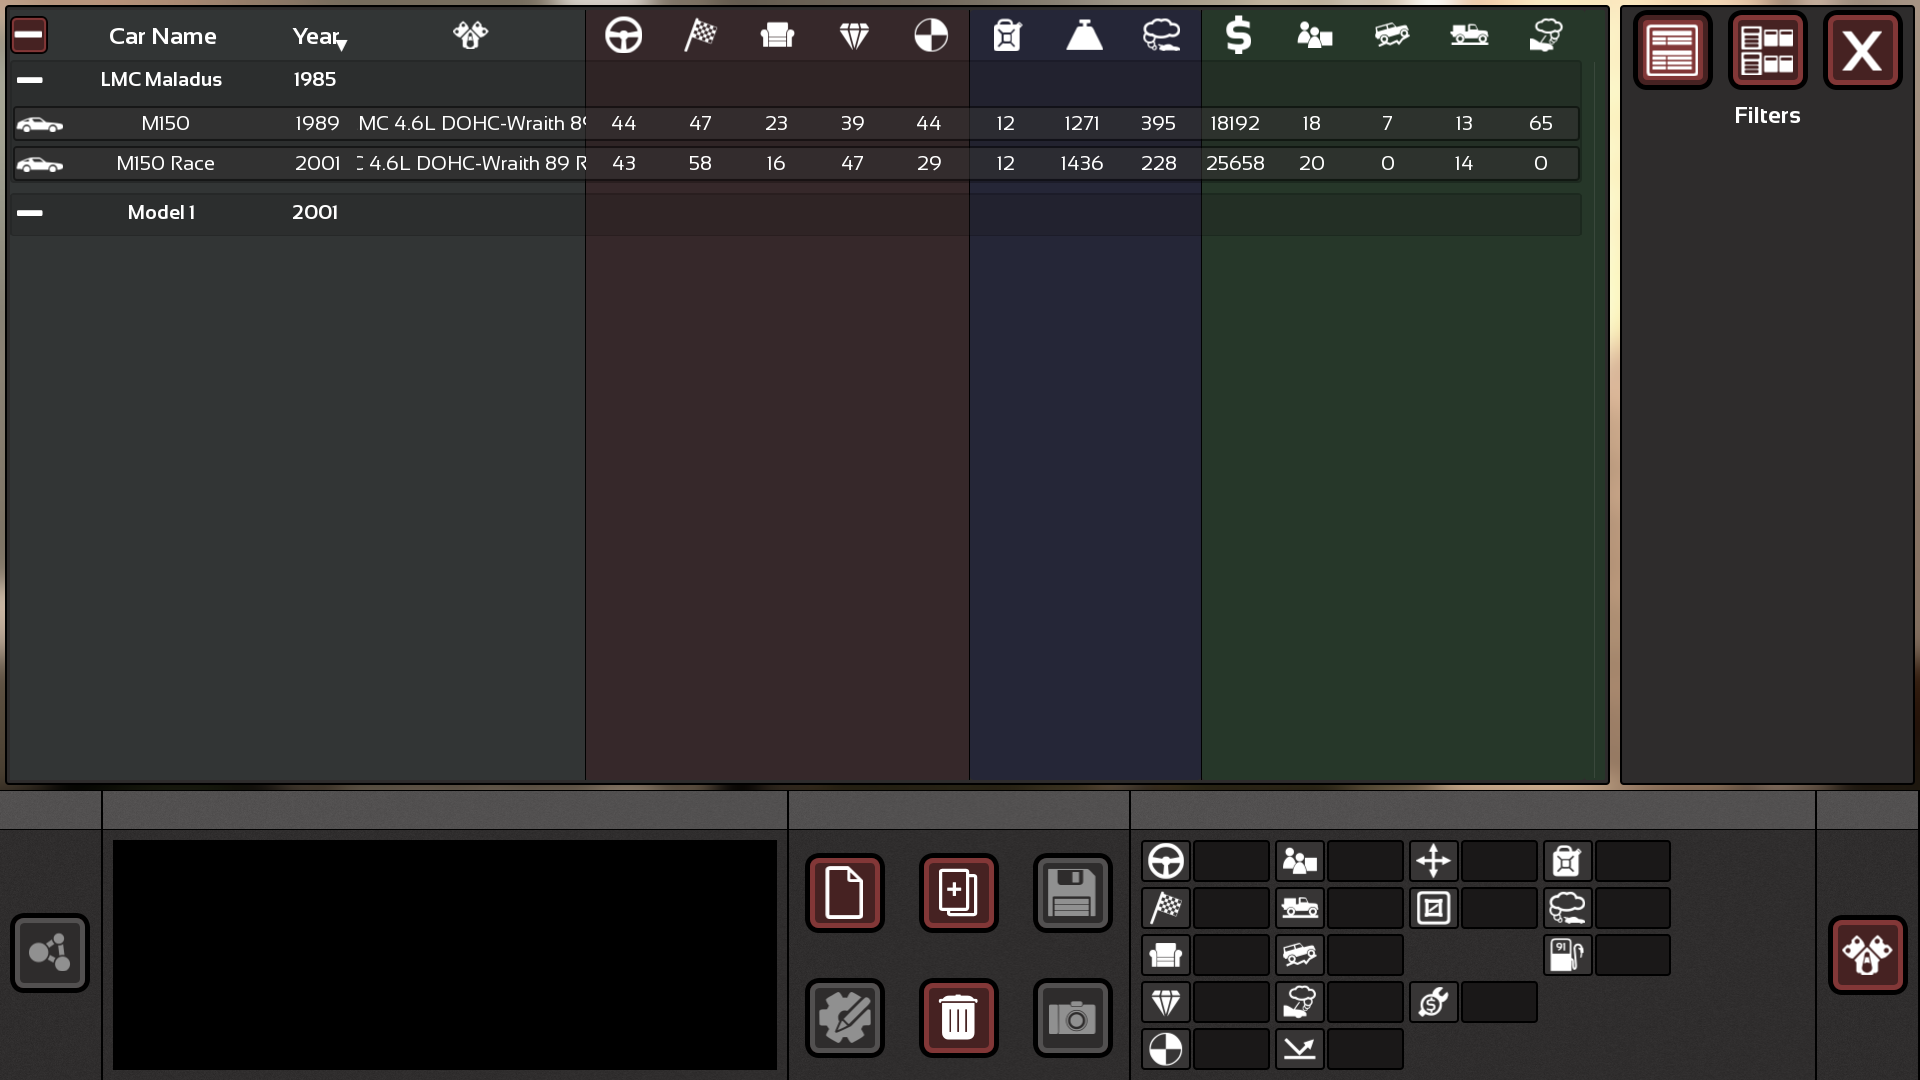
Fire up your copy of Automation and go to your sandbox, make a mental note of the trim you want to move or ‘split’ from the model or give it a memorable name, just so it’s easier to find. Make yourself a new model too but don’t select a body, make sure to give it a name you’ll remember and if you want to alter the model year for new materials and tech, make sure to do it here before moving on.
For the sake of this guide we’ll be ‘cutting’ the “M150 Race” trim to “Model 1”, and bringing the model year up to 2001 for things like carbon fibre

Pt.2 - The more interesting bit
2.1 - Opening your database
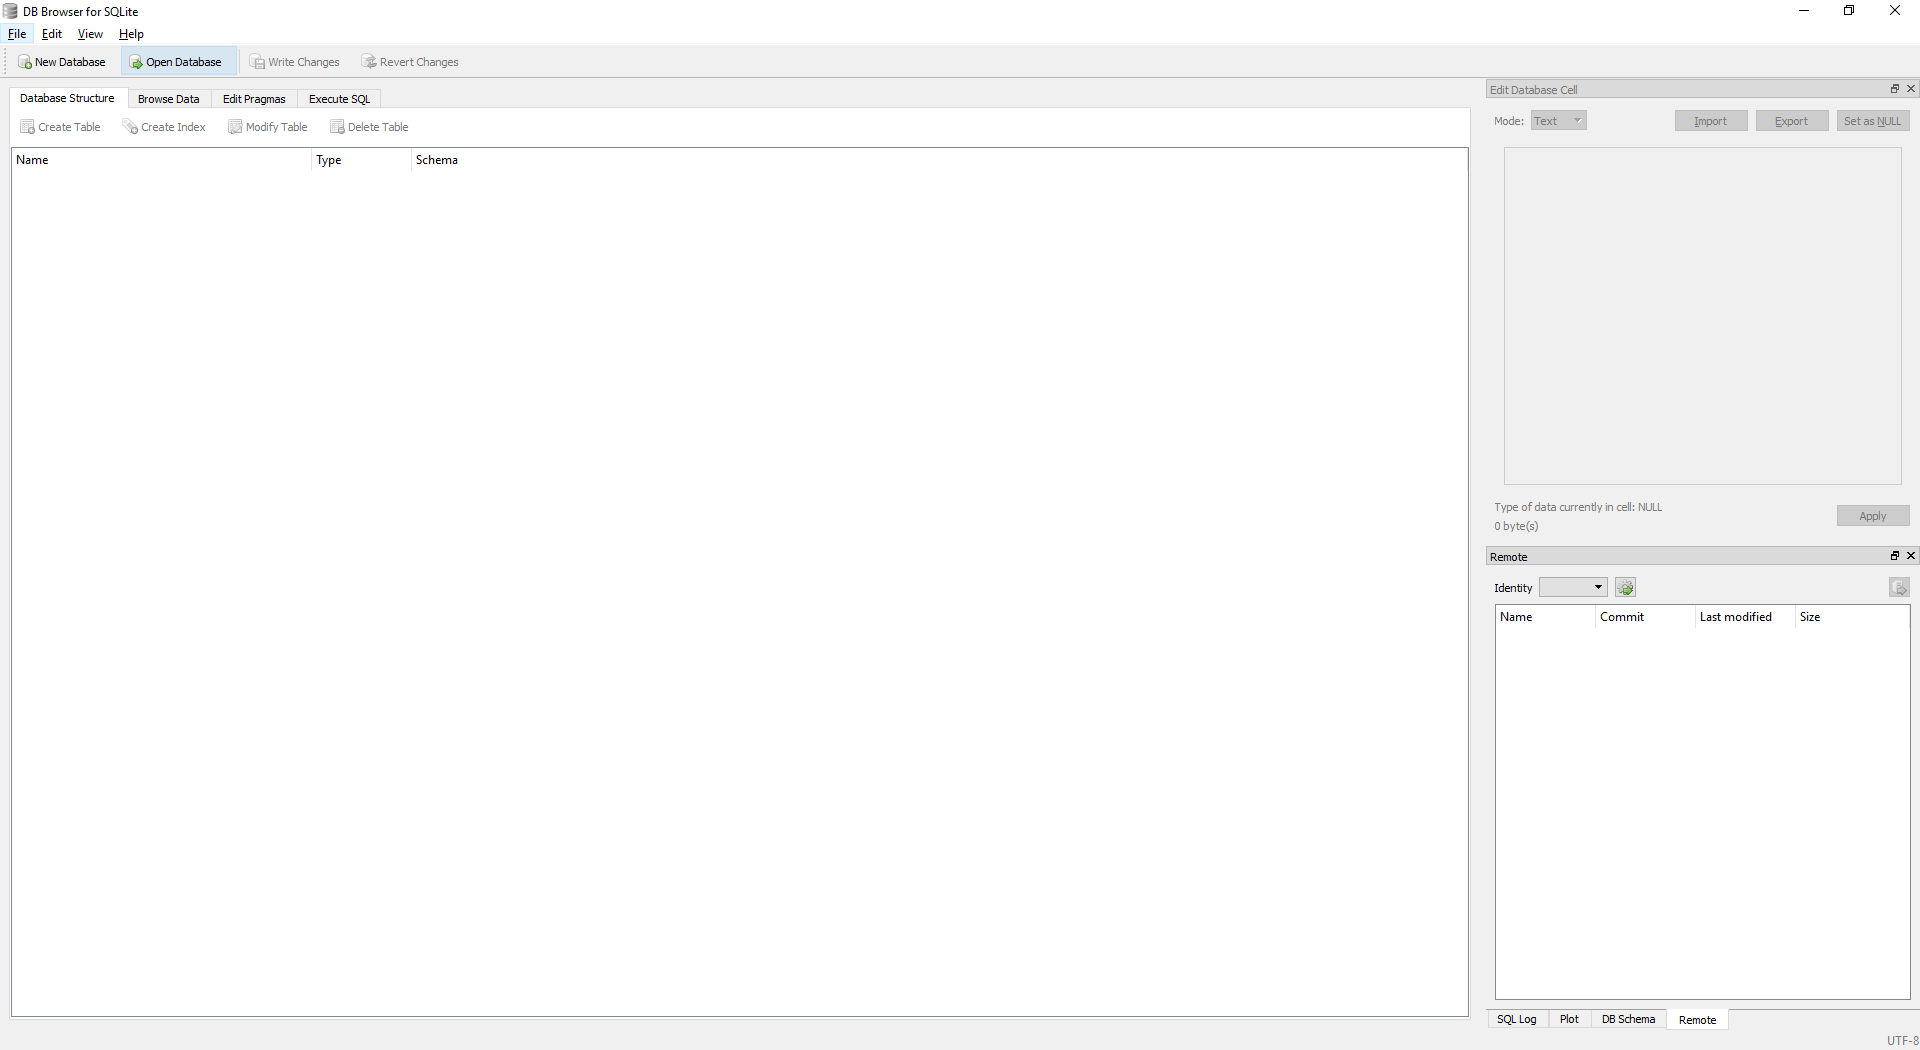
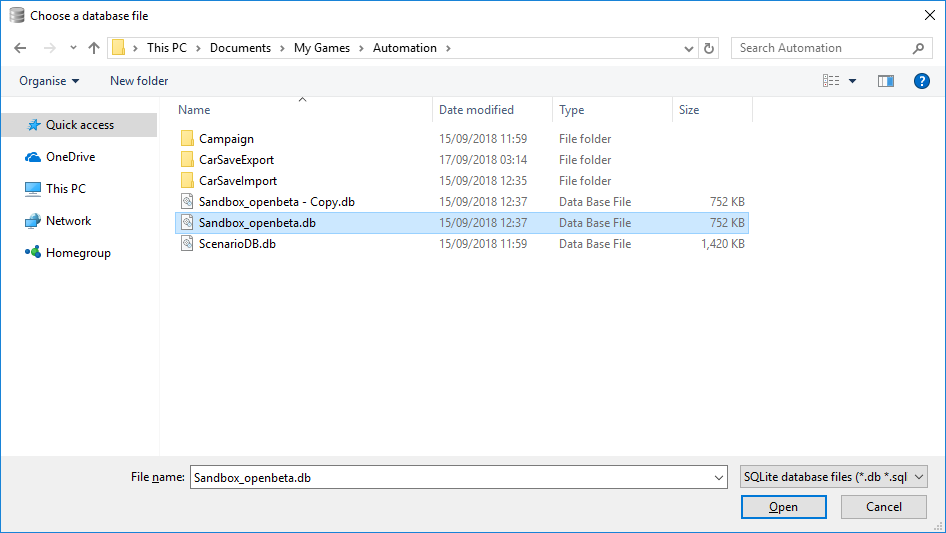
Now that’s done, start up DB Browser for SQLite, click “Open Database” at the top and navigate to your Automation folder (Documents\My Games\Automation) and select Sandbox_openbeta.db and open it
2.2 - Getting to the data
Once that’s done you’ll be greeted by a lovely and probably confusing screen, don’t worry about it, all is well in the world. Under the button you clicked to open the database, click the tab “Browse Data”, this is where we do the magic.

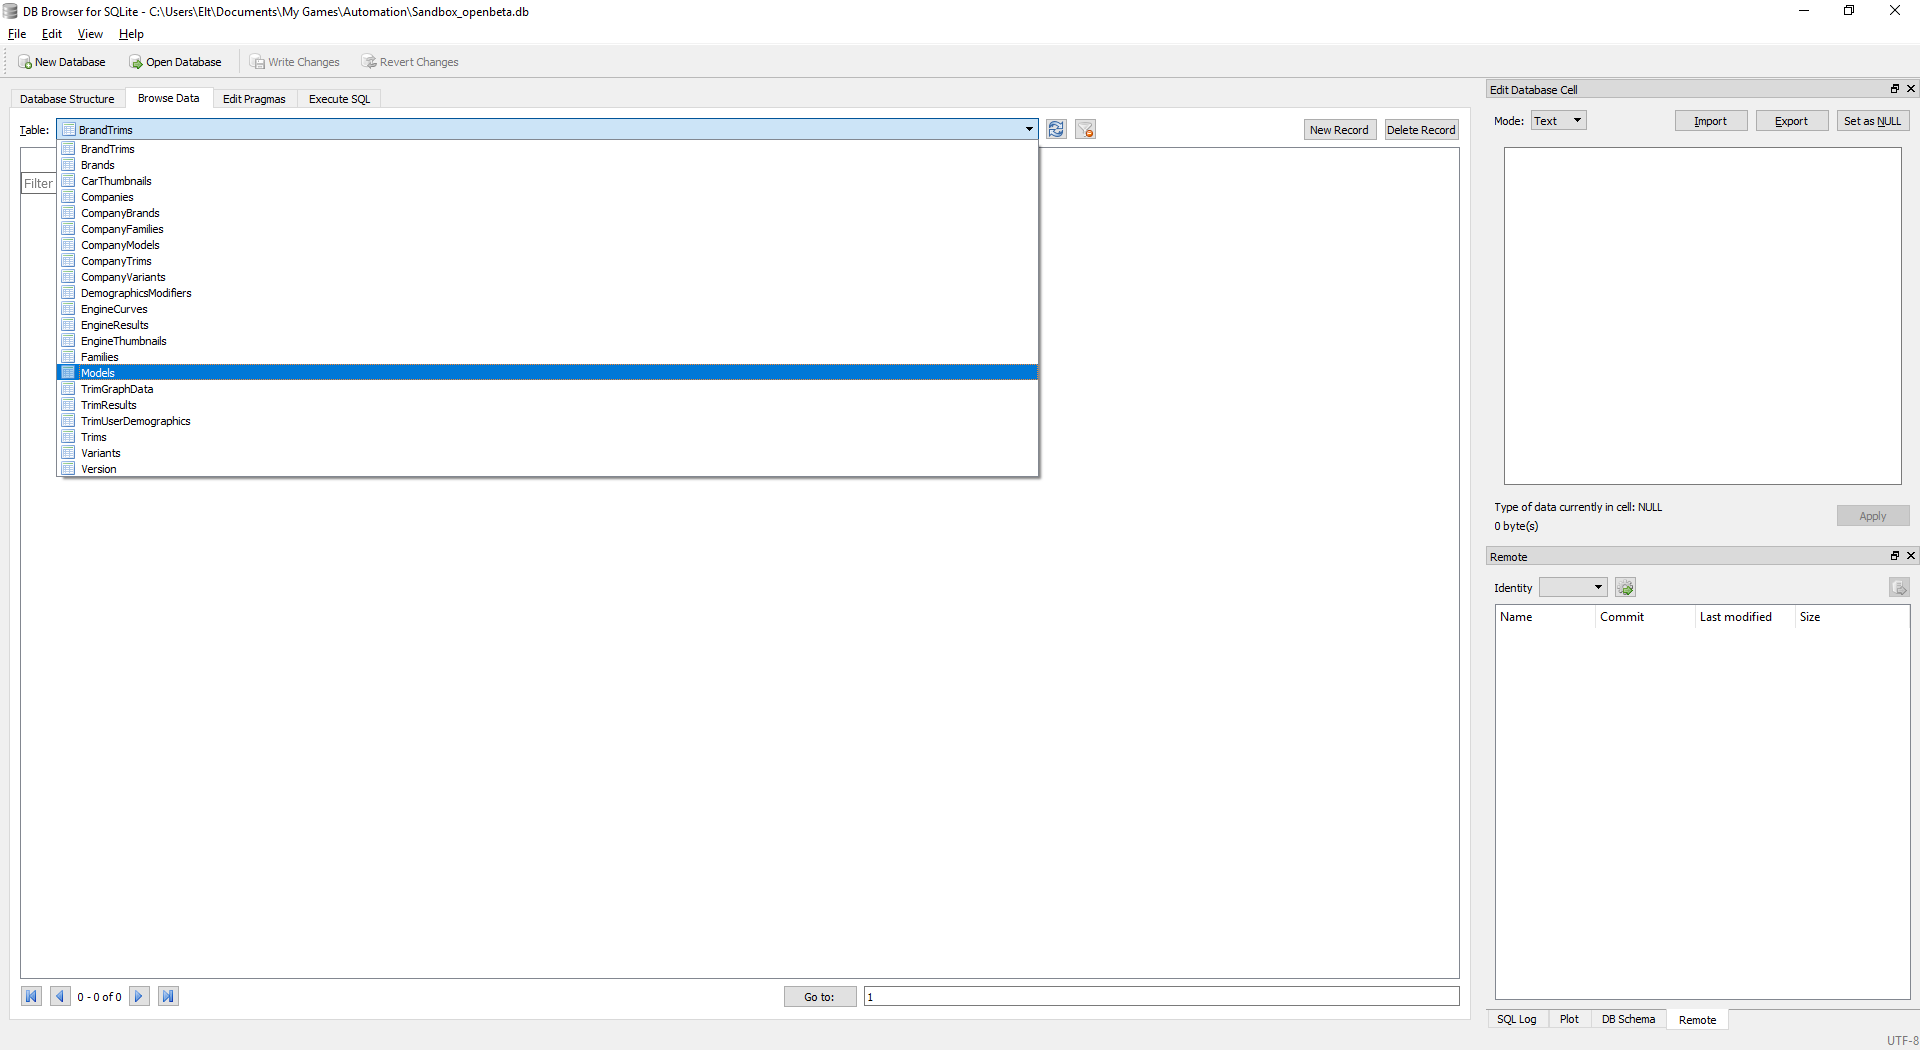
Use the dropdown list at the top titled “Table:” to select “Models”, you’ll be granted a screen with either a few or a lot of entries depending on how long it’s been since you last cleared out your cars. I won’t break down what each column is for but it’s pretty self explanatory.

2.3 - Making changes
Now we can get to the interesting stuff, and this is where things change a little bit if you want to change the model year (but it’s not that different)
If you want to keep the original model year
Find the model that contains the trim you’re ‘splitting’, first off select the “InternalDays” entry for that model, then scroll all the way to the right-most column and shift-click the “Fixtures” entry

Ctrl+C to copy that data, find the model you’ll be moving the trim to and select the “InternalDays” entry, then Ctrl+V to paste the data, it should replace everything but the first three columns
If you want to change the model year
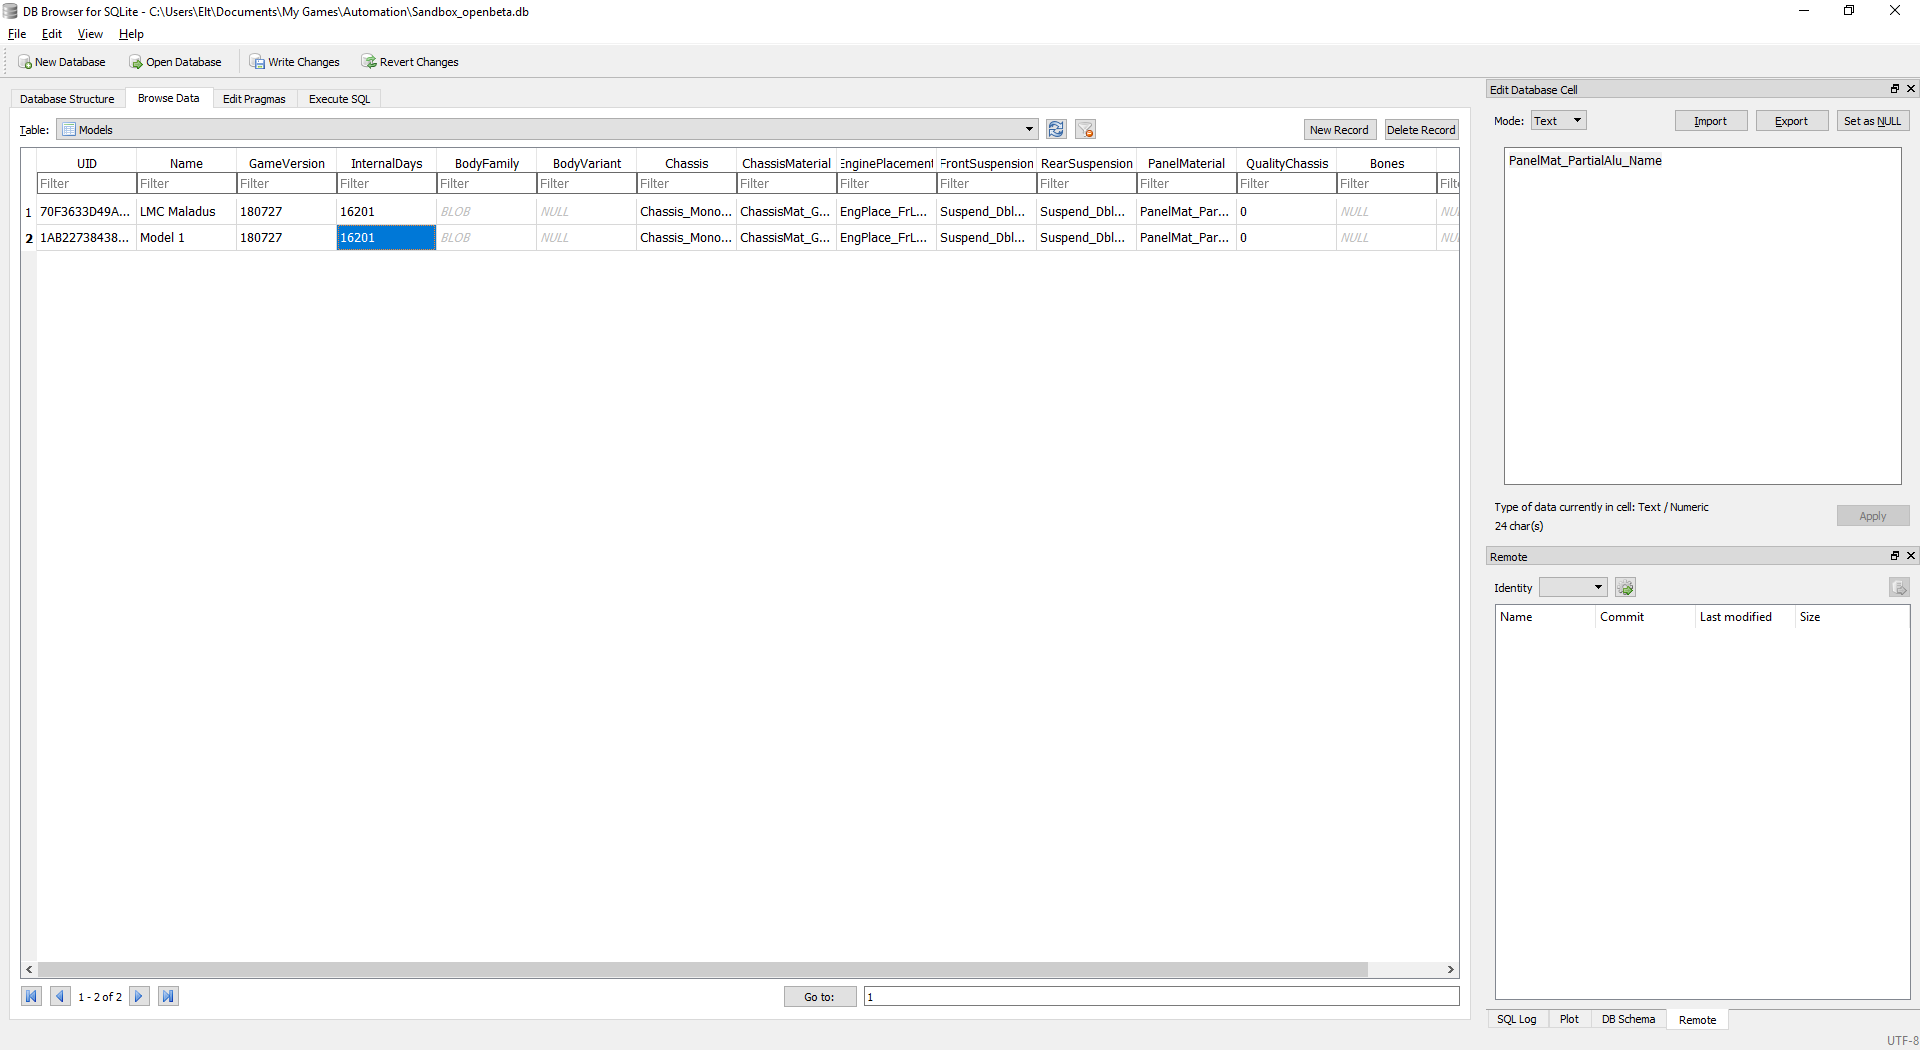
Find the model that contains the trim you’re ‘splitting’, select the “BodyFamily” entry for that model, then scroll all the way to the right-most column and shift-click the “Fixtures” entry

Ctrl+C to copy that data, find the model you’ll be moving the trim to and select the “BodyFamily” entry, then Ctrl+V to paste the data, it should replace everything but the first four columns, leaving the “InternalDays” entry unchanged

2.4 - Final steps
After you’ve pasted in the data, select the “UID” entry for the model you’re moving the trim to, and copy that, we’ll need it in a second

Use that dropdown list at the top again, this time select “Trims”

Find the trim you want to split and select the “MUID” entry, then paste the “UID” we copied earlier in it’s place, that should give us the two trims now with different values for their “MUID”

If you’re changing the model year there’s an extra step
Use that dropdown list again and select “Models”, this time you want to copy the entry “InternalDays”
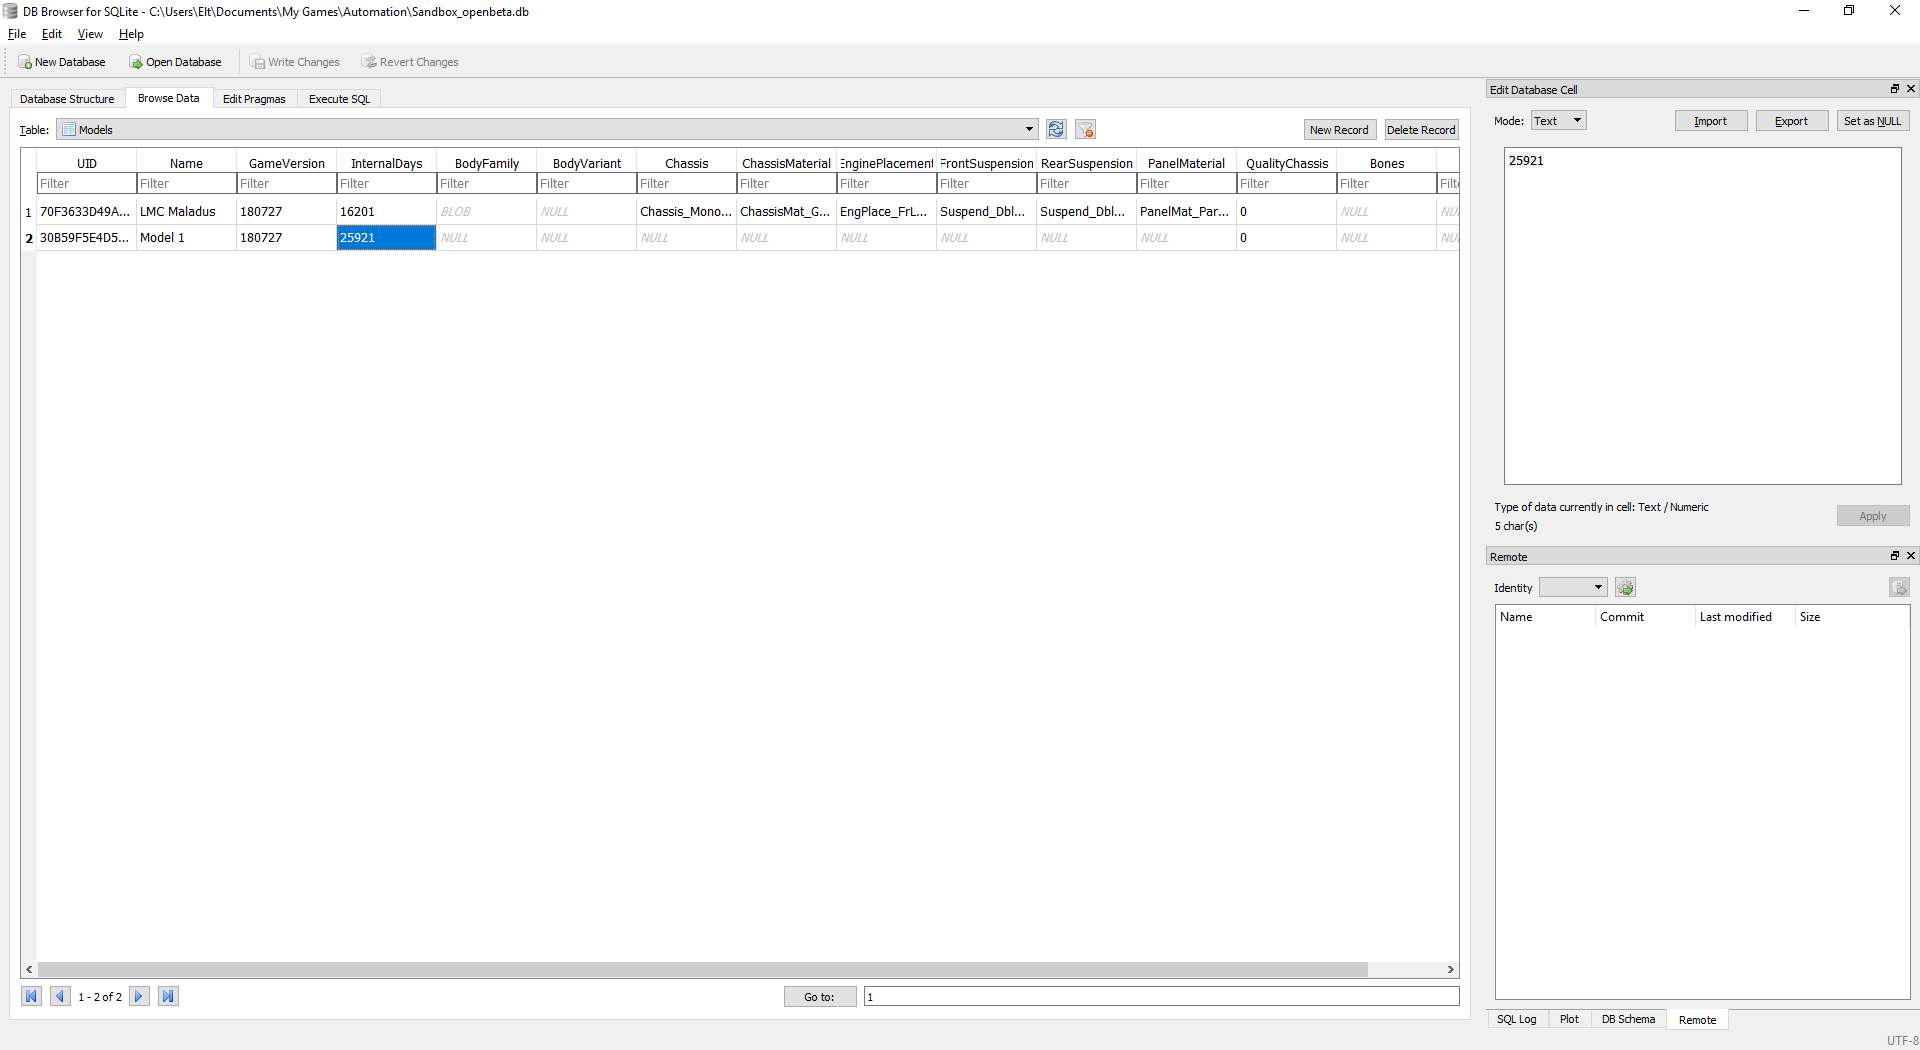
Once more use that list to select “Trims”, find the trim you’re ‘splitting’ and select the “InternalDays” entry, then paste in the one you copied earlier. This avoids an issue where the game locks you out of changing the trim year because it’s more than 10 years older than the model year

At the end of all of that, regardless of if you changed model year or not
When that’s done, click the “Write Changes” button at the top to do exactly what it says and write the changes to the database

2.5 - Fin.
After you’ve written your changes, feel free to close out of the program and fire up Automation at your leisure, when you go to your sandbox profile the trims should be split! Now you get to make all the changes you could ever want without losing any of the styling you spent the last 8 years of your life on!

End words
Hopefully this works out and is easy enough to understand and follow, if anyone has any questions feel free to shoot 'em over but remember I am not responsible for any corruption you may cause to your database and while these steps worked for me YMMV so make sure to make backups people.